 |
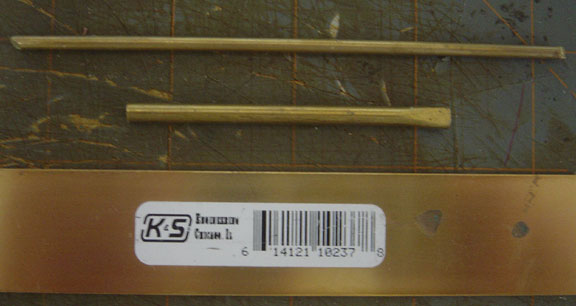
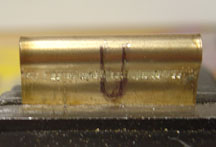
The raw materials. 1/8 wire will be the hinge pin and tongue, 5/32 wire will be the hoop, and 1 inch wide by 20 thou. brass strip will be the plate. Cut a 3 1/2 inch piece of brass strip, a 2 3/4 in piece of the 5/32, and 1 1/4 piece of the 1/8. |
|
|
 |
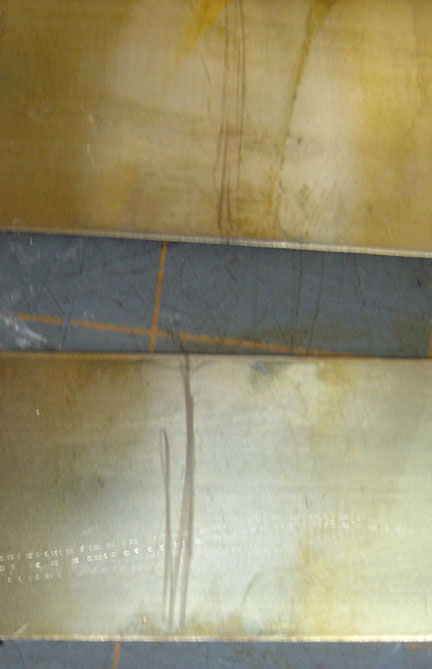
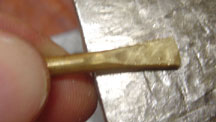
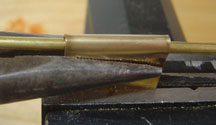
Brass annealing works the opposite of iron based metals, in that you plunge the heated metal into water to soften, rather than harden it. The hotter you make it, the softer it will get. Since brass is already pretty soft, you don't need to go overboard for this project. Anneal the center area of the strip by heating the metal until you can see a sort of light bloom following the flame (It takes a little practice to see this, and it does not photograph very well. The discolored areas in the center of these two pieces are properly annealed). As soon as you see the bloom, plunge the piece in the can of water. This process softens the brass enough to fold and work a bit without cracking. Also anneal the entire piece of 5/32 wire, and then anneal the ends a little extra. |
|
|
 |
It'll look about like this. |
|
|
 |
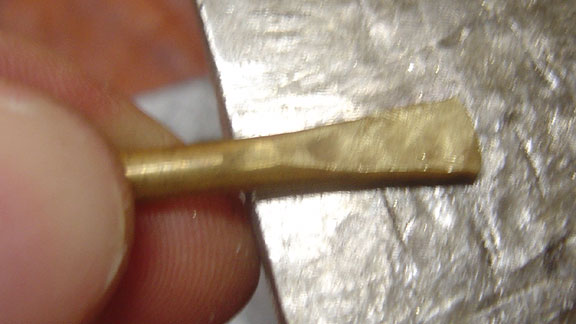
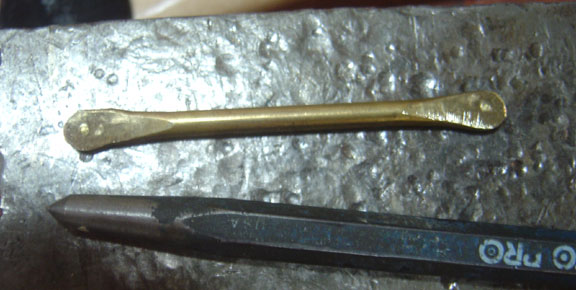
Start to gently hammer out the ends with the ball peen hammer. Work them from both sides, and try to spread the metal evenly. |
|
|
 |
This end is done. |
|
|
 |
Here are three 5/32 in hoops, and 1 1/8 hoop. |
|
|
 |
File the ends round, and make a mark with the large nail or center punch as close the the center of the pieces as you can. |
|
|
 |
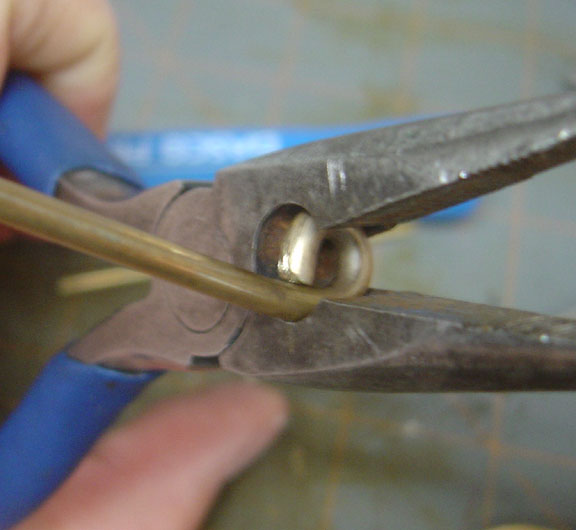
If the ends are askew to each other, you can easily align them with two pliers. |
|
|
 |
Use the 1/8 drill bit to drill the holes. |
|
|
 |
Use both pairs of pliers to work the wire into a neat hoop, bending it bit by bit into shape. It should end up so the ends are just about 1 inch apart. |
|
|
 |
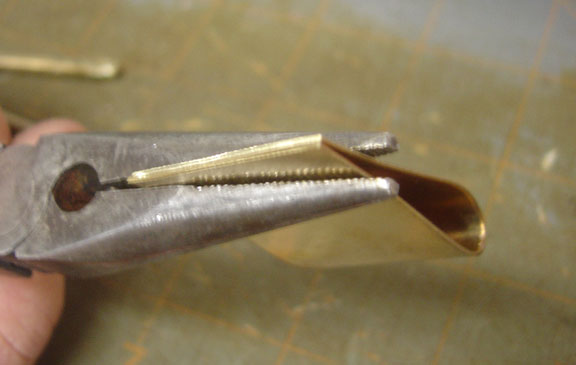
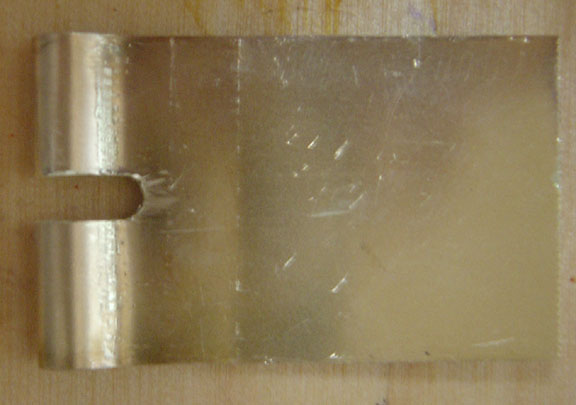
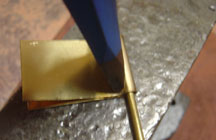
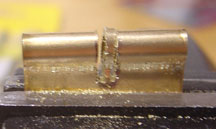
Fold the plate strip to match the ends up. |
|
|
 |
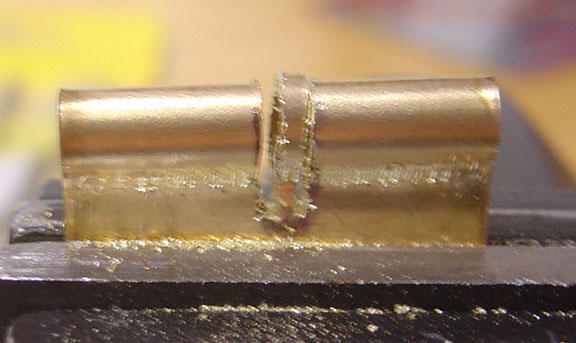
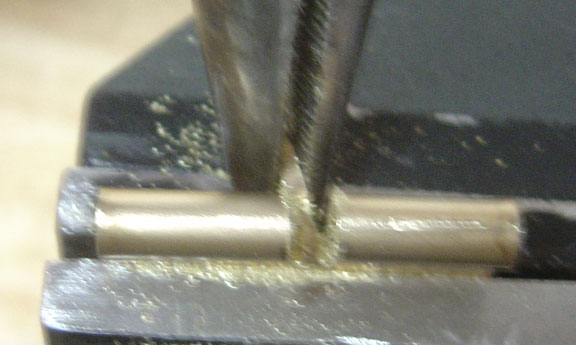
Put the plate strip in the vice, and place a piece of the 1/8 in wire into it. Using the needle nose pliers, gently squeeze each side until the rod stays up in the fold. |
|
|
 |
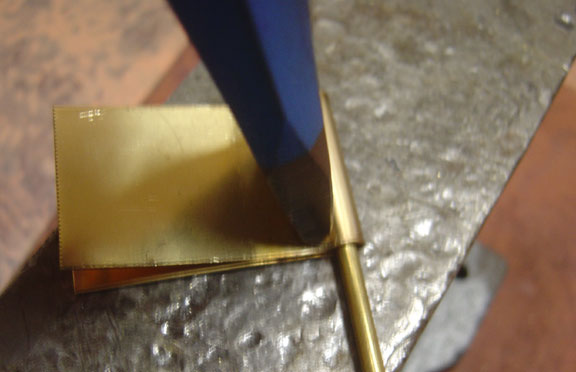
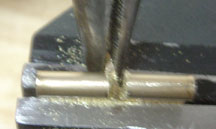
You can use a wide metal chisel to squeeze the plate down. |
|
|
 |
This is about a far as you need to go, since in most cases there will be a leather strap going in between the plate pieces. In other applications you may wish to completely flatten the plate. |
|
|
 |
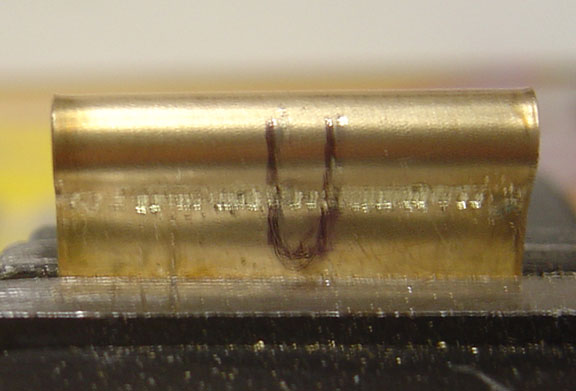
Mark the width and depth of the slot for the tongue. |
|
|
 |
Carefully saw down each side. |
|
|
 |
Grab the excess material and bend it back a forth to break it off. Using a small file clean up the edges. |
|
|
 |
A round file can be used to neaten up the bottom of the slot. |
|
|
 |
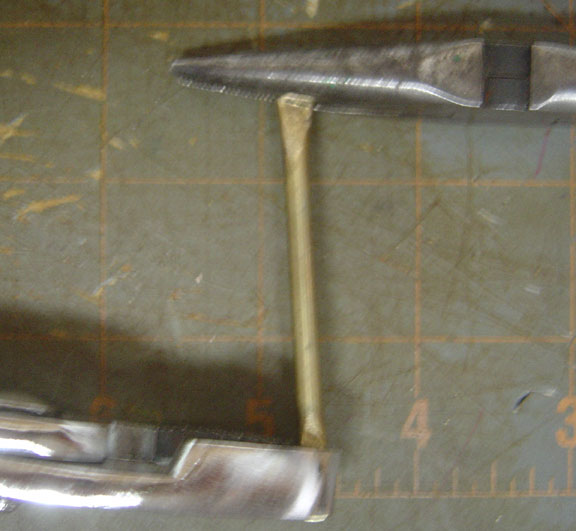
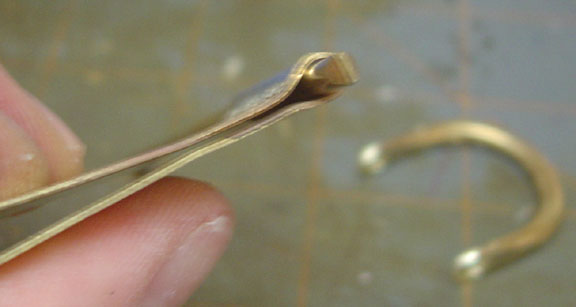
Anneal one end of a piece of the 1/8 in wire, and use the needle nose to bend it around. |
|
|
 |
The recess in the cutting section of the needle nose make a good tool to crimp the loop down small. |
|
|
 |
Hammer the whole thing over lightly to re harden the metal a bit. |
|
|
 |
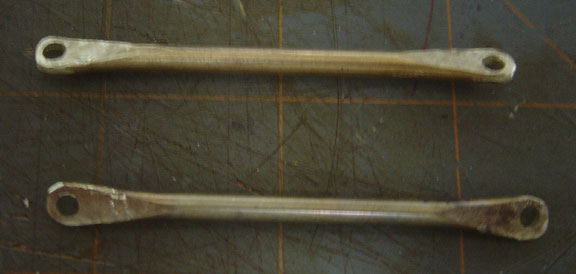
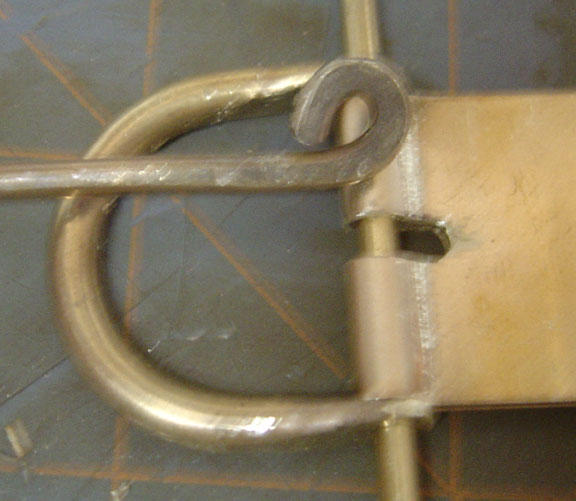
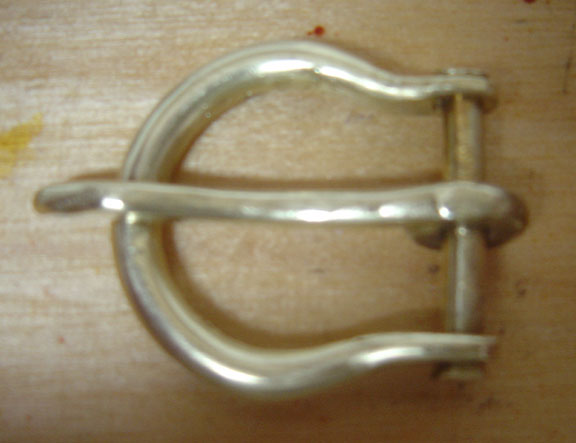
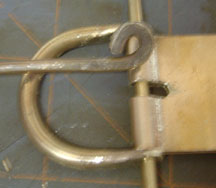
Slip the hinge pin through, connecting all the pieces. File the ends to be about this long. |
|
|
 |
Peen the ends of the hinge pin, and cut the excess off the tongue. |
|
|
 |
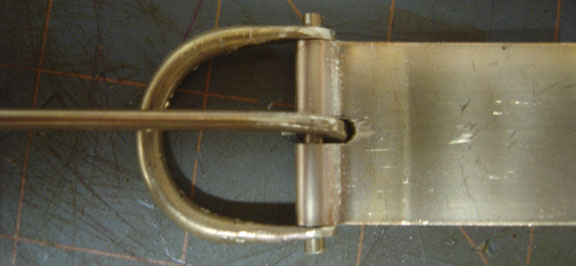
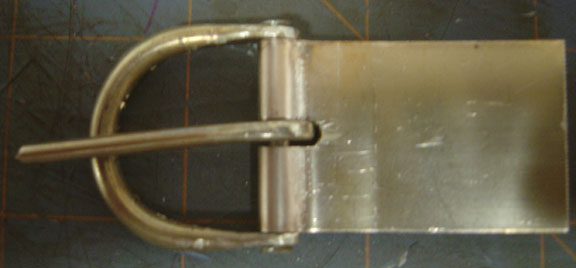
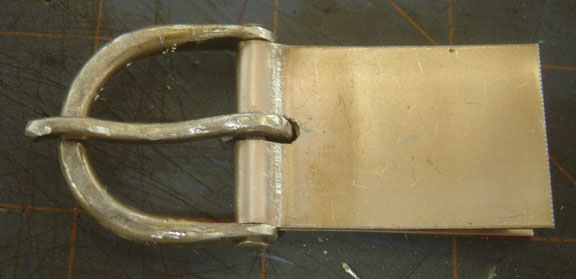
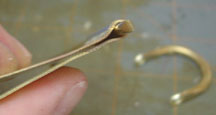
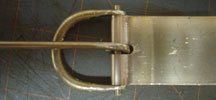
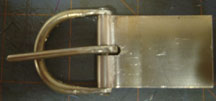
Hammer the tongue into this shape, and file the tip round and smooth. |
|
|
 |
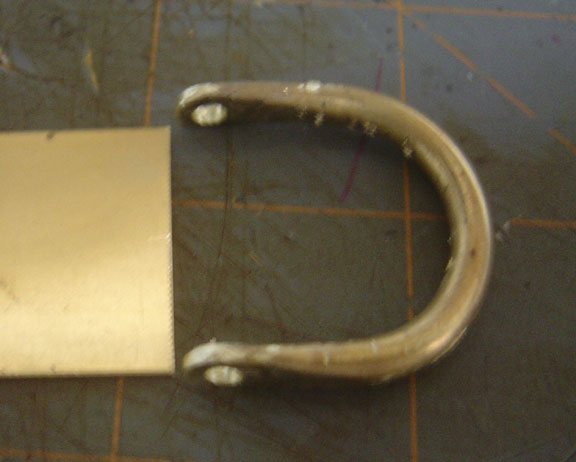
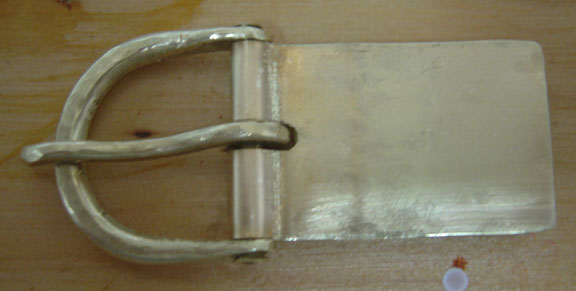
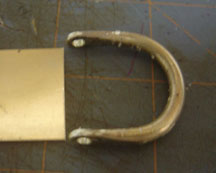
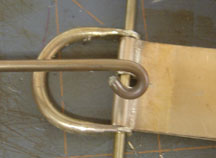
Other than mounting holes, this buckle is now complete. The mounting holes will be drilled when the buckle is installed. |
|
|
 |
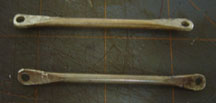
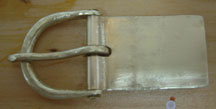
Here is a buckle without a plate, based on one of many found at Dura Europos. |