|
|
I would like to say from the outset that I owe a tremendous debt to the work of Carol van Driel-Murray for the knowledge to complete this project. This tent is based primarily on her article "New Light on Old Tents" published in the first issue of JRMES, 1990. The line drawings accompanying the article, drawn by Dr. Jaap Morel are also invaluable.
|
That being said this is by no means a perfect reproduction of the Vindolanda tent. It is not leather, it is |
 |
machine sewn, it is in English inches and feet, and it is truly an experiment. A common theme of the tent discussion is that the legionary papilio must have had only 1 foot sidewalls and that the vindolanda tent could only be at least a Centurios tent, because of the ridgid rules regarding the construction space of a marching camp. Perhaps... 'till we find more tents we won't really know. Anyway, with the nescessary internal frame, this tent takes up no more ground space than a comparable 1 foot sidewall tent, and I wanted to recreate something we actually have physical evidence of first, then perhaps later make a '1footer'. |
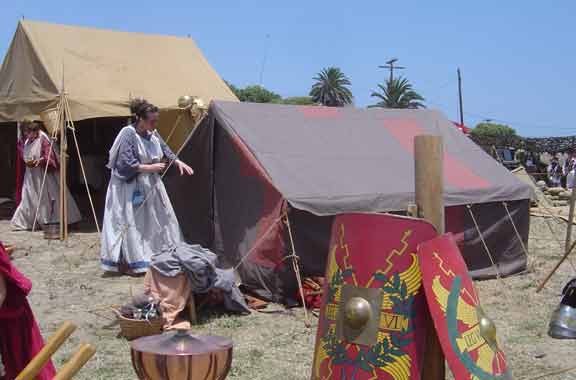
I knew from the outset that leather was going to beyond my means at the moment, and there wasn't a snowballs chance in Hades that I was going to handsew the whole thing, so canvas would have to do. I am not of the belief that a 'fake' leather tent is worse than one of white canvas. I don't believe I am wildly misleading the entire world into believing that the Romans had painted canvas tents. If it looks like leather, most people will accept it as such and move on. If they examine it more closely and discover its true nature, all the better, for that gives an excellent opening for the discussion of Roman military tents.
|
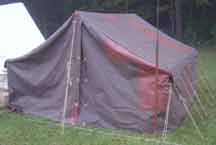
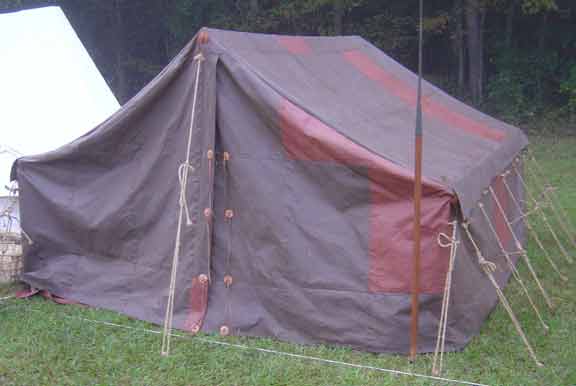
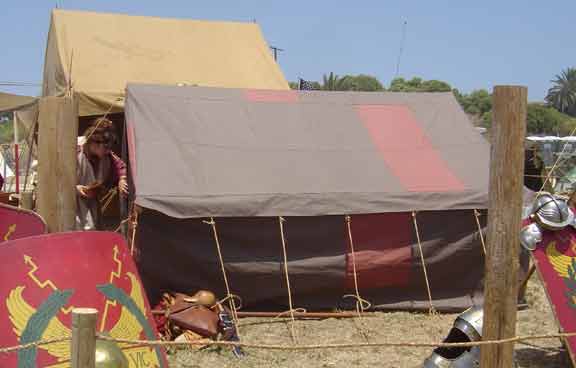
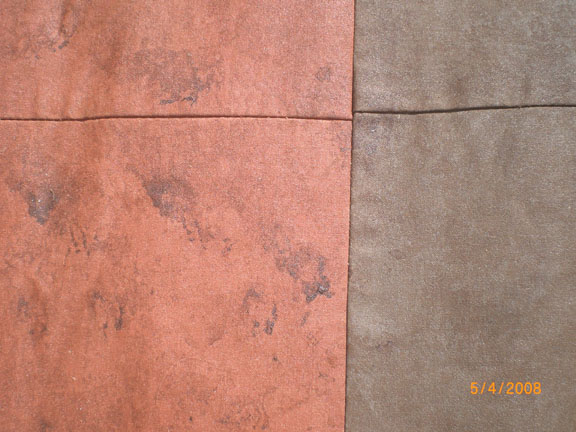
The canvas I chose to use is called pyrotone, and it is a poly-cotton canvas that is impregnated with paint and is uv protected, fireand mildew retardant. It is actually made for awnings, and boat covers and such, but comes in a fairly wide array of colors. I decided to use the two different browns they make together, to help generate the inconsistant look of real leather. I randomly cut panels from each color for this purpose. In retrospect, I think it would be better to use only one color, which I would recomend to be the terra cotta, with an overpaint. I think the brown is a little too dark. |
 |
Pyrotone is available from Dragonwing, and runs $11 per yard, 60 inches wide. Dragonwing is the most important web resource for tent building I have found anywhere. There are numerous articles detailing all aspects of tent construction, and though the webpage is directed towards medieval pavillion building, anything you need to know about materials or seam contruction, rope, etc. is there. |
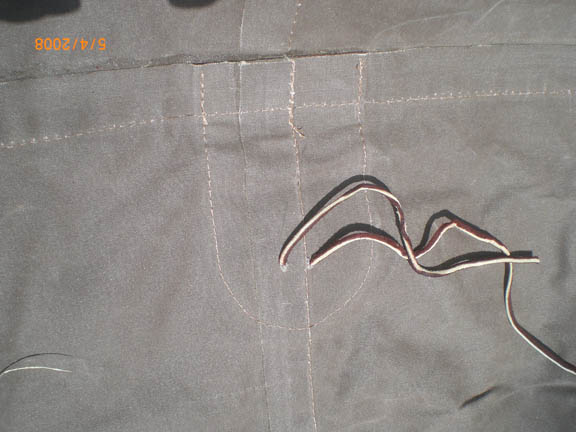
For my seams, in my goal to make it look as much like a real leather tent on the outside, I chose to make a modified flat fell seam. For the second line of stitching, instead of folding the fabric under and sewing, I simply glued it to the surface of the next panel. This process is detailed here. In the end analysis, I don't think it was very successful, because the are a number of spots where the glue did not stick. All part of the experiment...
|
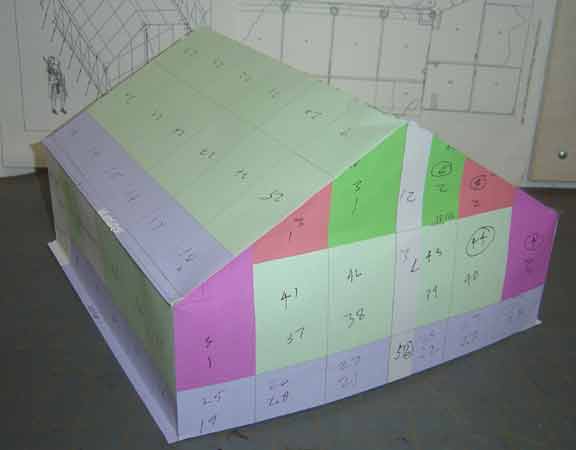
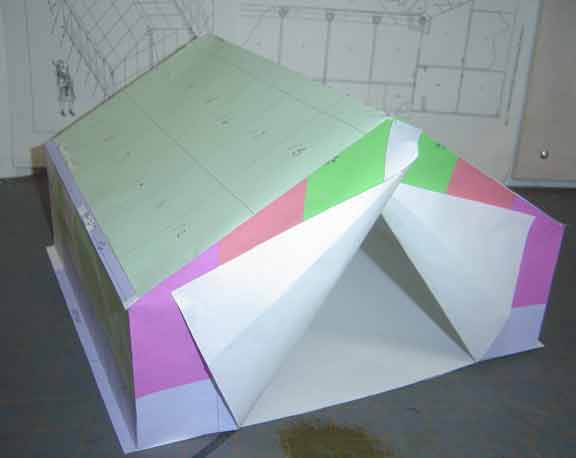
The diagrams are downloadable as a pdf here in 11/17 format, and here in 8.5x11 format. There is one drawing of each panel, and some notes about it. Then a second section to cut out and assemble a model of the tent, which, at least for me, really helps me wrap my head around it. The models can be printed, cut out and folded, then assembled with glue. I did not make a floor page, but if you glue the model down to a piece of paper, it helps sturdy it.
|
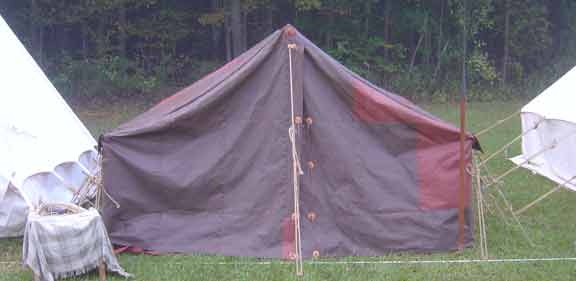
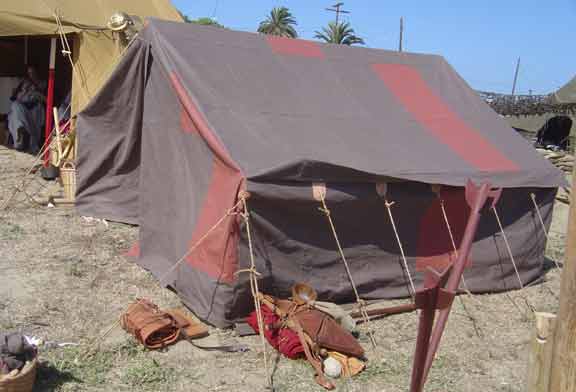
While this plan produced a functional tent for me, I can't guarantee my math, and bits I may have fudged here and there during sewing.. My seams used a large amount of material per seam, and my tent ended up 9'2" square, and less than 6' high at the peak. I believe that as long as you maintain the proportions of the panels, that you can up or downsize them and still always get a correctly proportioned final product. Just bear in mind your seam allowances and hems. |
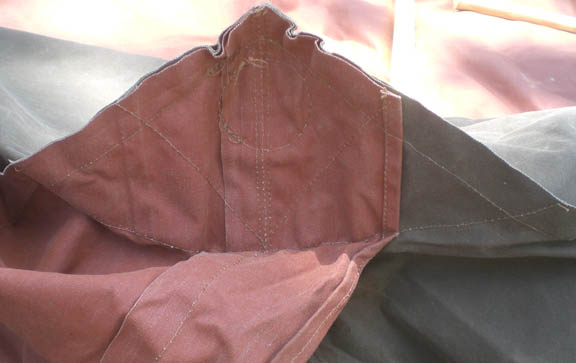
Another issue to bear in mind is that when assembling the angled end panels, it is likely that the top edge will end up somewhat misshapen and jagged. With this in mind I cut theangle cut top pieces slightly over sized in height, to allow material to be cut off and the line straightened after the assembly of each piece. |
|
|
|


.jpg)
.jpg)
.jpg)
.jpg)
.jpg)
.jpg)
.jpg)
.jpg)
.jpg)
.jpg)
.jpg)

.jpg)
.jpg)
.jpg)
.jpg)
.jpg)
.jpg)
.jpg)
.jpg)
.jpg)
.jpg)