 |
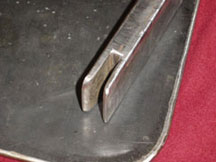
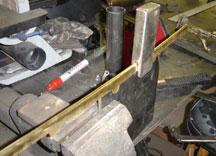
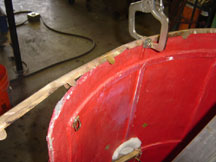
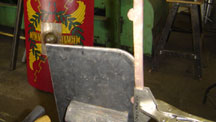
Here is the stake and dolly, made by our legion Centurion, Gaius. It mirrors the corner of the scutum. In retrospect, it would be better if one side was shorter, because once you've curved the edging, and want to touch up the corner, you can't get it all the way down on the stake. Alternatively, the stake could have the same curve as the shield. The stake should be as thick as your scutum, and is used for both general folding, and the corners. The dolly needs to be constructed to fit over the stake, with enough room for the brass in between. I mostly used the dolly for finishing the fold, and smoothing the curve, not really for actually making the curve, that is primarily done with a hammer. |
|
|
|
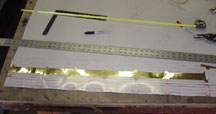
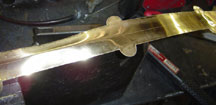
Here is the layout as I begin cutting. I've laid a cut one next to the marked one for comparison. I used .020 thous. brass sheet. |
|
|
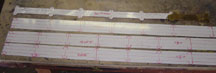 |
First cut the strips to the width of the tabs. If you can get your brass precut to that width where you buy, you'll save some time. If you were really enthusiastic, you could do your layout interlocked, and cut each strip that way, which would save some brass. I found it much easier to have a single strip to work on. After cutting the strip, cut around the edged up to your marked line. If you have the correct set of snips, right, left and straight, it'll be faster and easier. DO NOT CUT THE SIDE STRIPS YET, only the top and bottom. |
|
|
 |
After cutting, I filed and sanded the edges. I really hate that little toothed mark the tin snips leave along the edge. I didn't worry about getting my pieces exactly perfect. By the time you're done folding and tweaking, they'll be off anyway, and it will look more authentic. |
|
|
 |
Scribe a light line down the center of each piece to use a guide for folding. The brass should not need to be annealed for this, though you might as well, since you need it annealed for the next step anyway (for the top and bottom pieces). Start to fold it over the stake by hand. |
|
|
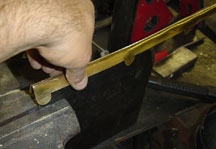 |
Keep folding... |
|
|
 |
Since I had it, I used the dolly to finish the fold. Not a critical step. You could use pliers or just keep squeezing with your fingers. A pair of sheet metal vise grips is also very handy for this. |
|
|
|
|
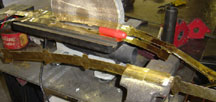
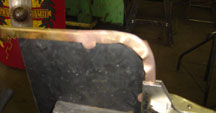
There are few pictures missing here, but I suggest annealing the entire strip at this point. Then work it onto the top (or bottom) of the scutum into its correct curve. You can probably avoid the red hot super soft annealing for this large bend. You won't be hammering it much, so it doesn't have much chance to get re-hardened. I bent it somewhat over my knee, worked the center on and clamped it. from there work out each side and smooth it out. It is handy to have something to put the shield against, so you have a bit of resistance for the hammering. Using a lightweight ball-peen hammer, go across the front and back, and fit it on. Get both corners started, so you know where they'll be. |
|
|
 |
Remove the edging from the scutum and clamp it onto the stake. Note: my pictures do not show the curve because I did the first one ass backwards. Do the big curve across the top of the scutum FIRST! Also, If you didn't before, you should anneal the ends red hot! I only annealed most of them once. One acted up so I annealed it a second time. |
|
|
 |
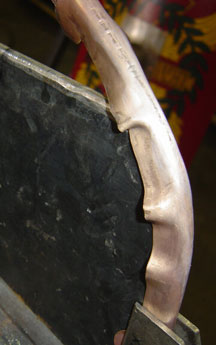
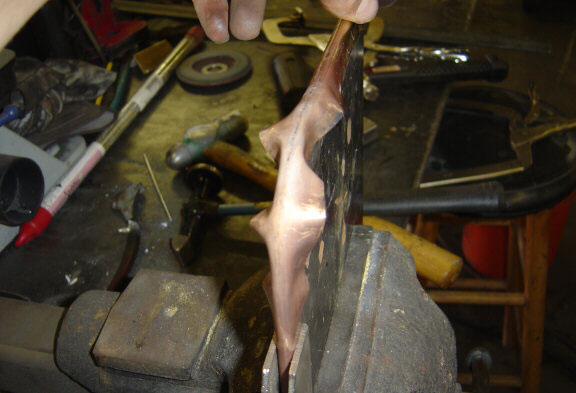
Start by just bending it all the way over. It'll kink up nicely. This sort of gives you an idea where you'll have to flatten the kinks. If you want, at this point you can try to spread the kinks evenly along the length, so it all has to compress less.
Also, refer to the techinque for accordion folding it on Scutum Edging Page 2 , it would simplify this aspect of the work.
|
|
|
 |
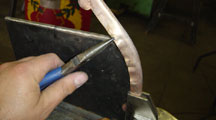
Straighten it up a bit, and start to work down the kinks with a light ball-peen hammer. Just keep tapping, and the metal will start to compress, and the kinks start to disappear. |
|
|
 |
If you get spot that actually folds over, simply unfold it and flatten with pliers, and continue. |
|
|
 |
Just keep on gently hammering in each side. Try not to get to far ahead of yourself on one side or the other. I also found it helped to lift the end of the whole piece occasionally, stretching out the kinks, and then flatten them more, pushing the end back down |
|
|
 |
I'm still amazed how those kinks and folds just disappear. |
|
|
 |
Keep on hammering. |
|
|
 |
Amazing! If you have the dolly, you could use it to give a final flatten and squeeze. You can also do that with a hammer. |
|
|
 |
Place it back on the scutum. You may have to open out the corners a bit to get them on. you can clamp the middle again, then tap the whole thing down with a rubber mallet, or something else gentle. |
|
|
 |
I drilled holes from the front, since the line up is more important there. Now, after you've done the top and bottom, you can measure and cut the side pieces. I made the mistake of cutting them first, and my curve calculations did not come out correctly, so my beautiful side pieces were an inch to short on both sides. |
|
|
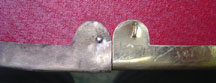 |
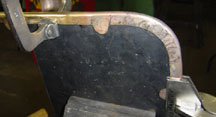
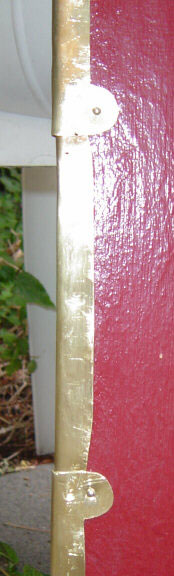
Here are the two methods I used to nail it on. The nail is the same in both, but they were not good for mushrooming. Most just bent over, mucking up my precious brass, so I started just cutting them short and bending them over. I've gone back and looked at Bishop & Coulston, and it shows the real ones with bent over nails- go figure. Much prettier would be to use small rivets. |
|
|
  |
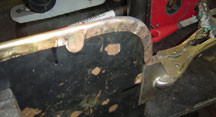
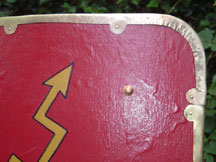
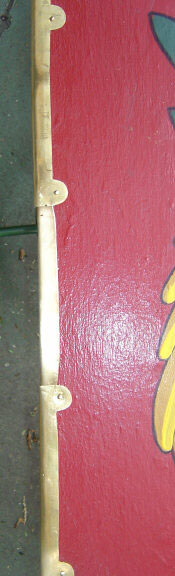
Since my side pieces were too short, I put patches in. It looks OK- live and learn. The next one will be superior... |
|
|
 |
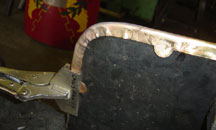
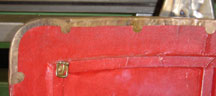
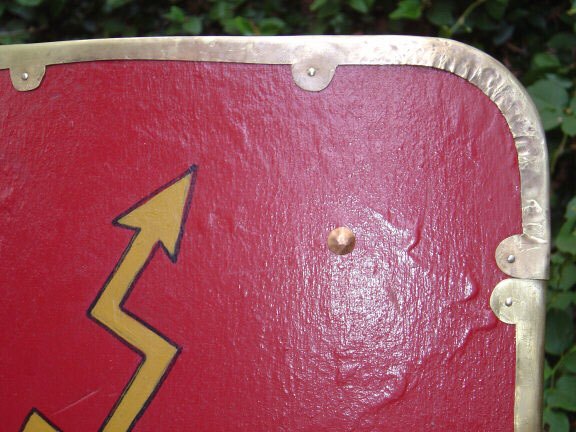
Here's a pretty nice upper corner. |
|
|
 |
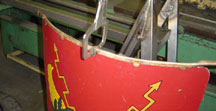
And the whole shebang. I even cleaned the rust off the boss. |


