|
|
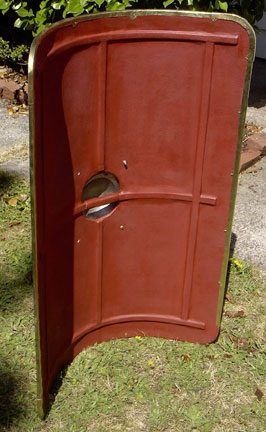
The man who convinced me that I could actually succefully complete a scutum edging job is Matt Lukes, who generously provided me with this additional info. I think the accordion bending of the corners is particulary brilliant, and will greatly ease the process.
|
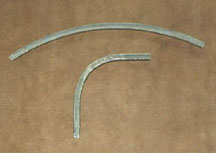 |
The 'forms' for the corners and the top and bottom wide curves are two pieces of 3/8" square section steel bar, bent into the correct shape using the scutum as a guide. |
|
|
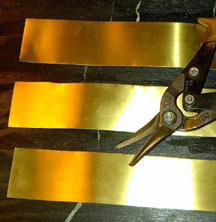 |
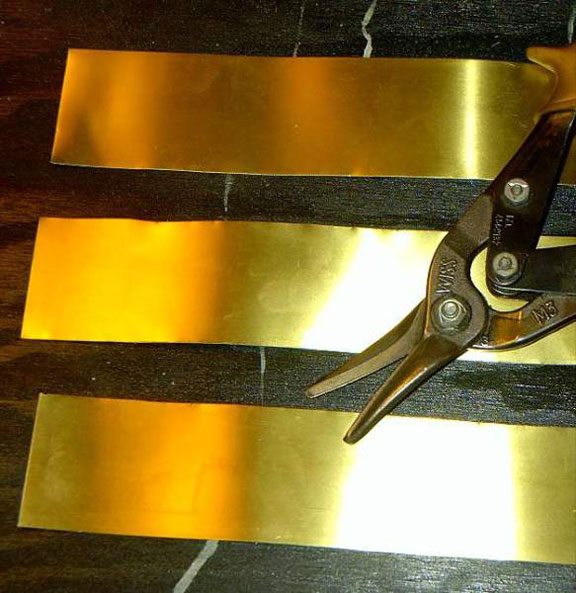
Cut the strips to length so there were 4 main, long pieces and 4 courners. |
|
|
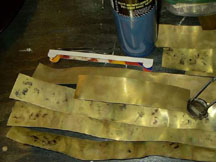 |
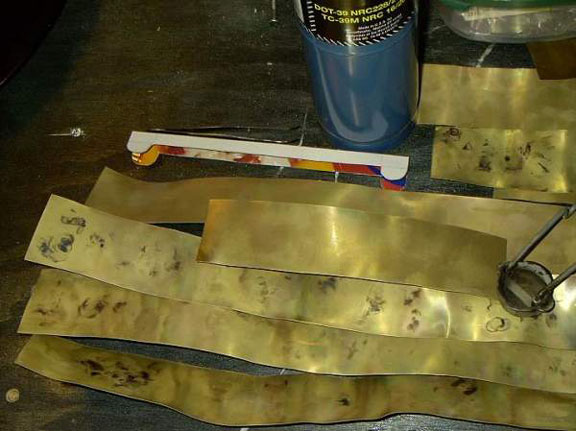
Then anneal the brass, quenching it in a bathtub. |
|
|
 |
Begin the 'U' bending with a dull chisel. Complete the bending around a straight piece of 3/8" square section steel bar, hammering against it on a flat surface, and cut it down to size leaving the semi-circular tabs. |
|
|
 |
|
|
|
 |
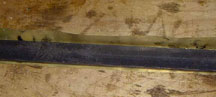
Bend the brass by introducing a sort of accordion pattern with a pair of needlenose pliers- taking the brass into the jaws, then twisting it first one way then the other, leaving it bent, then moving on a little and introducing another bend. This allowes the pieces to be curved very easily. All that was left is to flatten out the 'accordion' by hammering the brass while it was on the steel forms, re-annealing it as nescassary, bending it back into shape and hammering it more. |
|
|
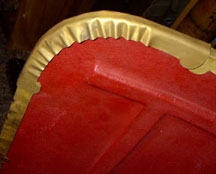 |
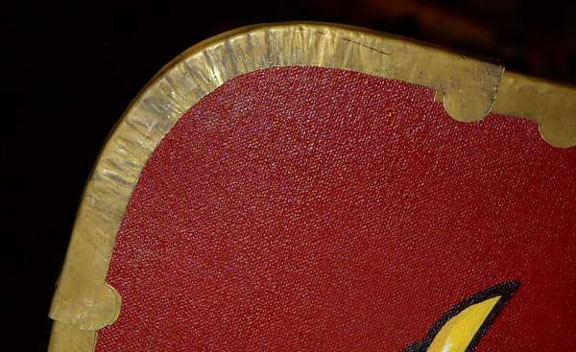
A test fit on the scuta corner. The actual hammering is done on the 3/8" bar form. |
|
|
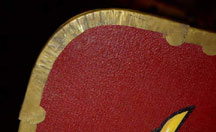 |
Nearly there. You may need to re-anneal the brass occasionally. Continue to hammer down ripples using the 3/8" bar forms. |
|
|
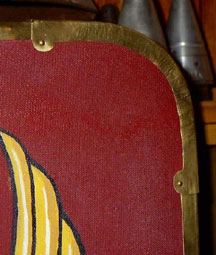 |
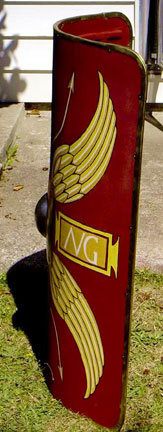
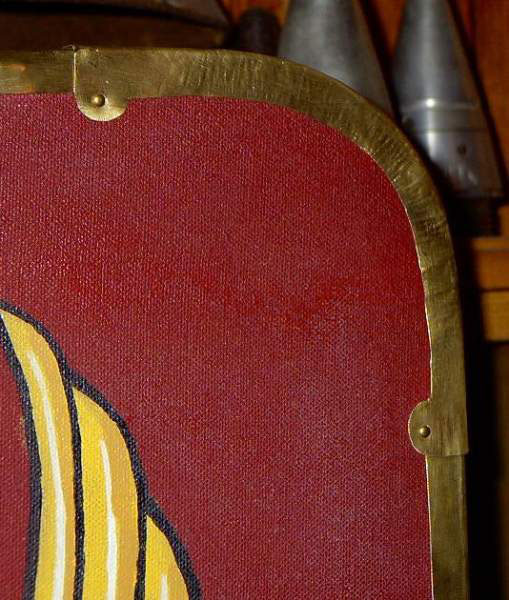
Finished and attached! |
|
|
 |
|
|
|
 |
|
|
|
 |
|
|


