|
|
 |
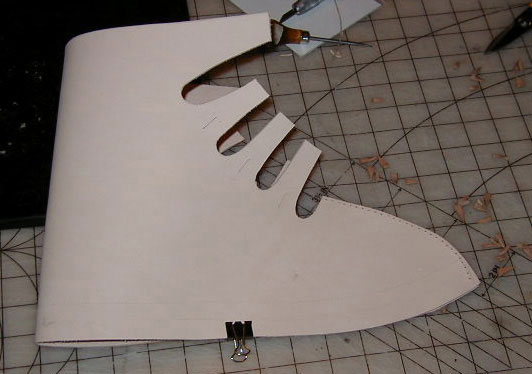
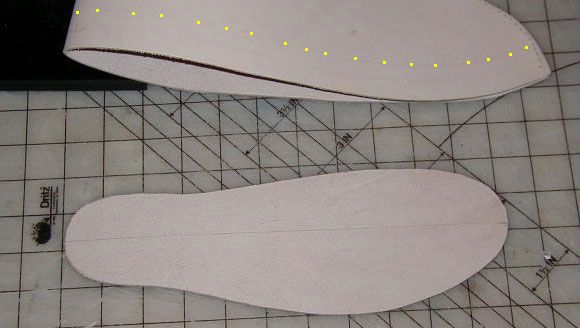
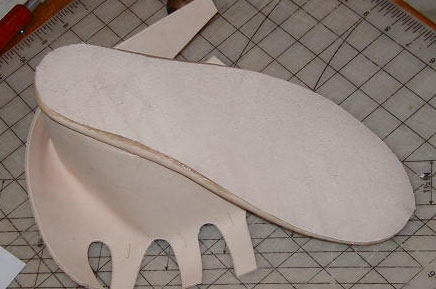
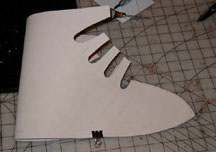
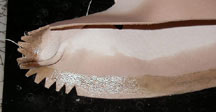
I like to use chalked tracing paper and a toothed marking wheel to transfer the pattern to the leather. However the chalk paper is not critical, I also find the marking wheel marks alone to be adequate. The 1" lasting allowance, (whether you are using a last or not) needs to be marked on the outside and the inside. I always start with one shoe, and make it most of the way till I know it fits, before I cut the leather for the second. Don't cut the outer sole or bottom sole pieces until you've assembled enough to dry fit the outersole pattern to the shoe. |
|
|
 |
The upper is lightly glued together across the toe seam, and holes are punched for stitching. |
|
|
 |
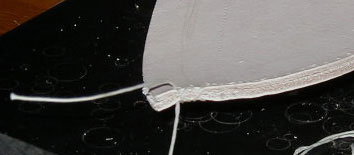
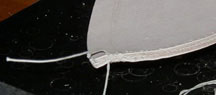
I like to sew the first few lowest stitches any seam separately, in case for some reason I need to unstitch the seam during construction. This way, I always know the bottom of the seam is firmly secured. Starting on the 'fold under', sew a few stitches crossways, then switch to a running stitch, and go two or three stitches up the toe seam, and back down. The cross ways stitches allow you to fold the leather out flatter under the toe when you glue it. |
|
|
 |
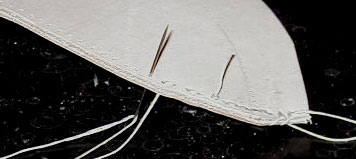
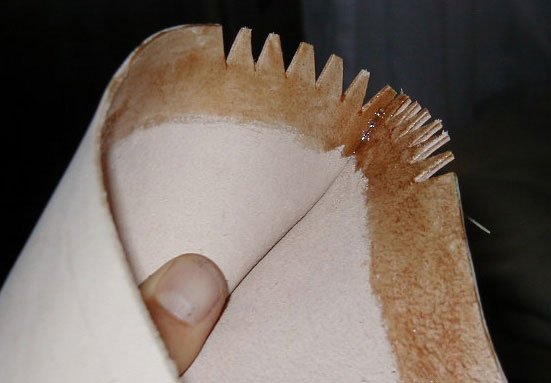
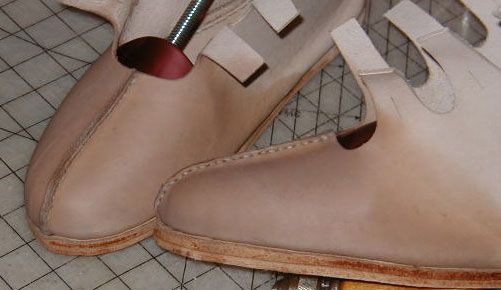
Another view |
|
|
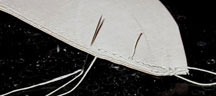 |
Sew a running stitch up the toe seam. |
| |
|
 |
...and lock it off at the top. This is temporary stitching, because sometimes it is necessary to open the shoe. Be sure to weave the loose ends of thread in so they don't come loose. |
| |
|
 |
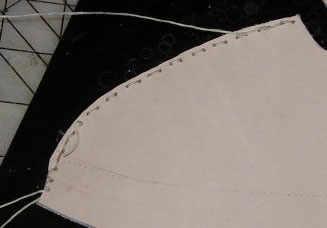
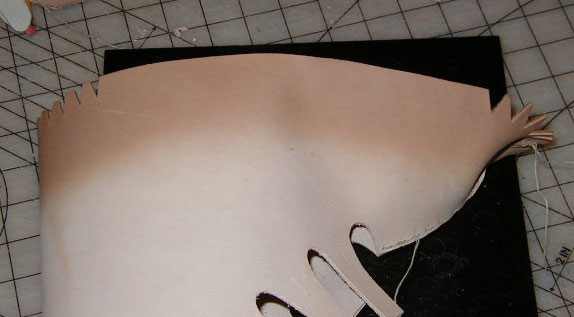
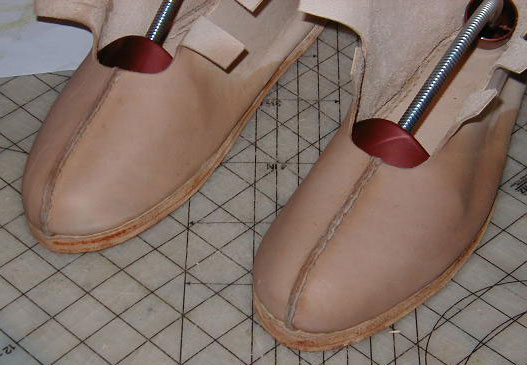
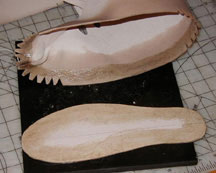
Here the upper is stitched and ready to be glued to the inner sole. |
| |
|
 |
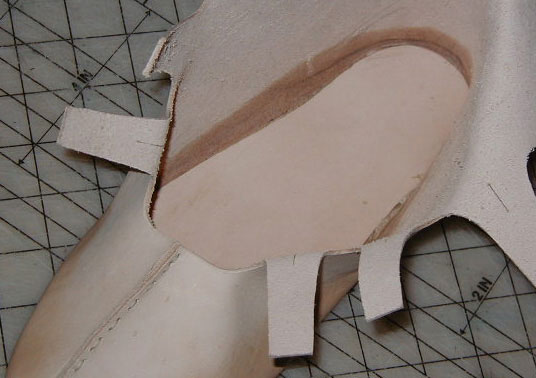
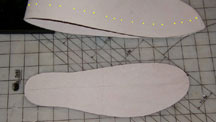
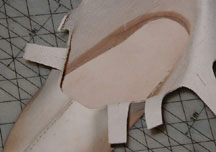
The yellow arrows show the line denoting the lasting allowance on the inside and outside. Before you start gluing, you should notch out the toe and heel area. Look ahead to see how far to go. I cut the triangles out to a depth of about 1/2 inch. |
|
|
 |
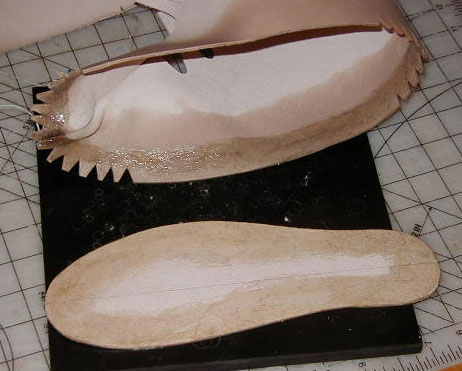
Apply the glue up to the 'fold under' line. |
|
|
 |
After the glue is applied, and dried, you can begin to soak the leather by spraying it with a mister bottle or just run it under a faucet, but try to keep the water off the glue area. |
|
|
 |
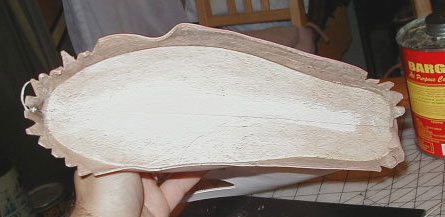
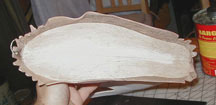
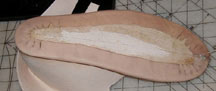
View of the inside. |
|
|
 |
Apply glue the inner sole, at least 1" in from the edge, and make sure to get the edges of the inner sole all the way round. |
|
|
 |
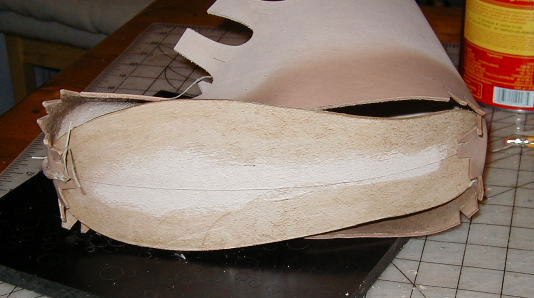
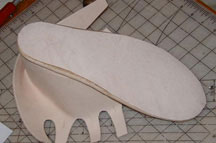
Start at the toe, and loosely stick the sole on, lining the center line up with the toe seam. Next loosely stick the heel, lining up the uppers back center line with the sole center line. |
|
|
 |
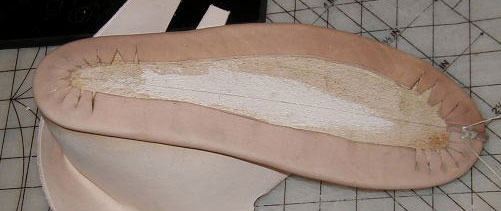
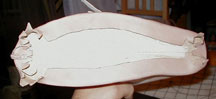
Carefully go round and stick the EDGES of the inner sole along the top line of the 'fold under'. This is a bit tedious and requires some pulling off and reattaching. You need to be very careful here that the inner sole is well lined up with the line on the outside. Once you've got it in place go round and press it to firm up the connection. If it is necessary, add a little fresh glue where needed. |
|
|
 |
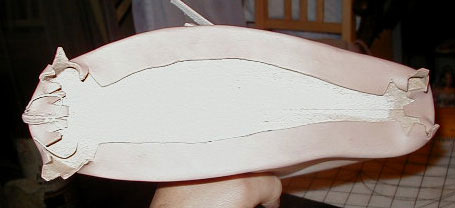
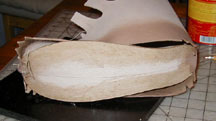
Go along each sided and by molding and compressing the wet leather, fold down the sides and get them nice and smooth. You may have to pull up re stick sections a few times to get it. This usually takes the application of some additional glue. |
|
|
 |
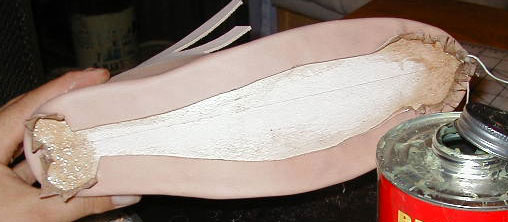
Pull up the toe and heel bits that are stuck, and apply a bit more glue. |
|
|
 |
Carefully lay down the triangles, getting the leather as smooth and flat as possible. You may find it necessary to do some additional trimming here, to get them all to fit in well. It is important that there are no overlaps or wrinkles to thicken the leather. If there are and you can't smooth them, you can skive it down to a single thickness when it is dry. |
|
|
 |
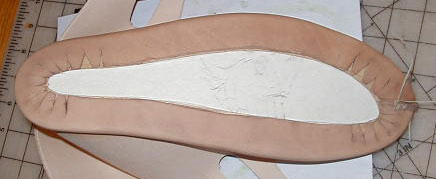
Check your filler sole pattern, and cut the filler sole pieces out of the the same leather as the upper. Glue them in. It is necessary sometimes to add little bits of leather here and there to fill gaps in the notches, and around the filler. |
|
|
 |
When I'm satisfied with the fit, I lightly hammer the lasting allowance and the innersole together, using a light hammer or mallet and your shoe anvil. |
|
|
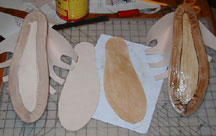 |
Dry fit the outer sole pattern to the upper, and make sure it is big enough to come to the edges all the way around. When this piece fits correctly, you can cut the outer sole pieces. Dry fit the outer sole piece, slather on the glue and stick them together wet so you have a bit of room to slide them around and make sure it's all nicely lined up. When it looks good, I find if I hold it firmly so it doesn't shift and lift and resettle each end a few times, the glue sets up a bit faster. |
|
|
 |
Aview of the inside. |
|
|
 |
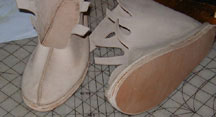
A neatly applied outer sole. |
|
|
 |
Sandwich up the layers of the bottom sole, adding your heel lift if you are using one. Do not make the sole too thick however, as your hobnails will not be long enough to penetrate all the way through to bend over and clinch on the inside. Slather the shoe and the sole with glue, and stick them together. Do this part with the glue wet also, so you can line them up well. When it is dry, hammer the bottom sole on, and smooth out the edges with a file and sand paper, but be careful to avoid marring the upper. |
|
|
 |
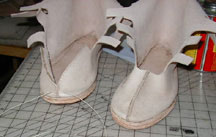
Ready for shaping. |
|
|
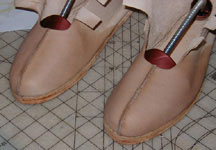 |
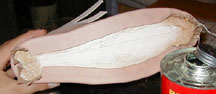
.Fill up the toe with water, and let it soak through. Stick your fingers in there and press and prod and shape out the toes. I also used a dowel round on the end to get the tip of the toes. Keep trying them on until you have sufficient room inside for comfort. Stuff the toes up really hard, and cram in some shoe trees. I used plastic bags wadded up for the stuffing, and slid the shoe trees under, to keep the toe bulk. I did some drying with a hair dryer |
|
|
 |
Drying. |
|
|
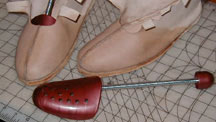 |
The cheesy shoe trees I used. |
| |
|
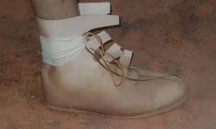 |
OPTIONAL STEP, depending on your specific designs needs.
When you are happy with the toe, soak the ankle and wrap some fabric strips tightly around to help shape it. |
|
|
 |
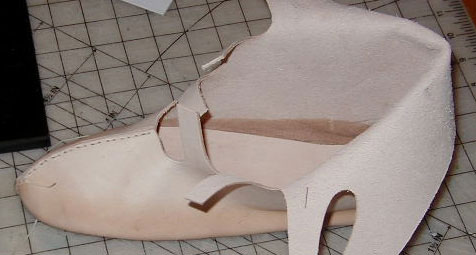
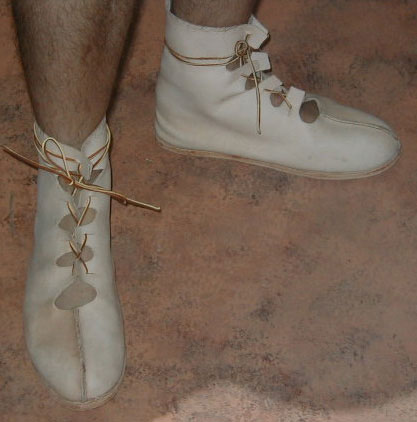
Hot off the press, and ready for hobnailing. The last thing I do is make the hole slits, and punch a hole at the tension (upper shoelace end) end of the slit, to prevent the leather from tearing. |
|
|
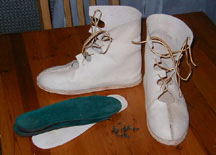 |
You'll need a leather insole, and a foam or heavy felt insole will add comfort. The loose leather insole covers the bent over tips of the hobnails. You may want to use these elements as you are doing the test fitting and stretching. |
|
|