|
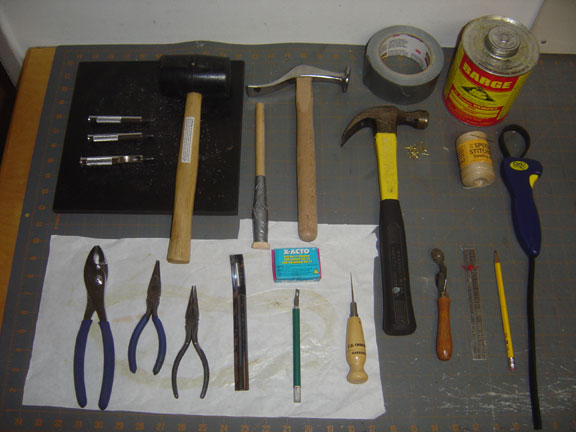
Here are most of the tools I use to make a lasted shoe. |
| |
|
 |
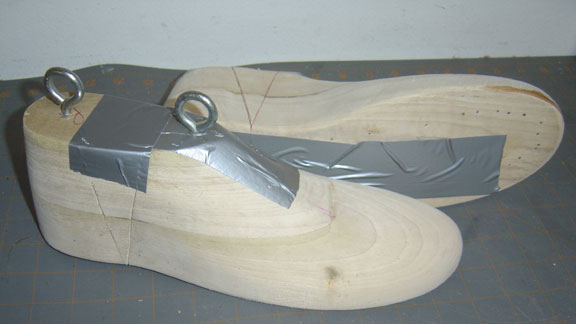
Here are the lasts in an unfinished state. I initially cut them in three pieces, with a wedge shape to slide in and out, making them easy to get the leather on, and off. I have subsequently refined them to the more finished form found on the last page. At this stage I simply taped them together. |
| |
|
 |
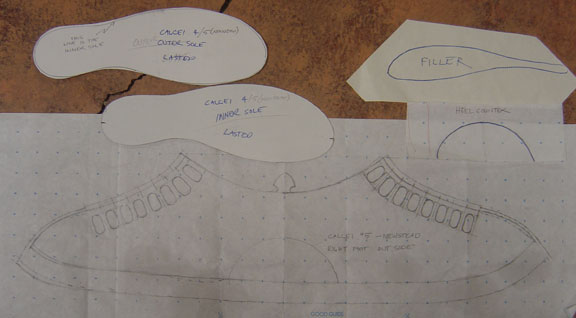
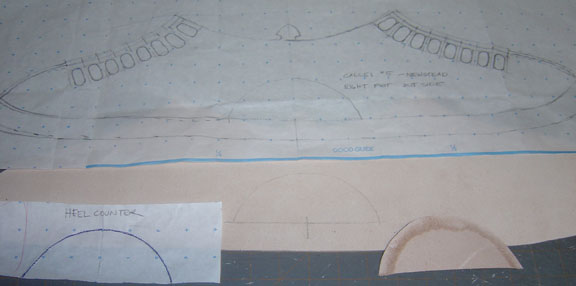
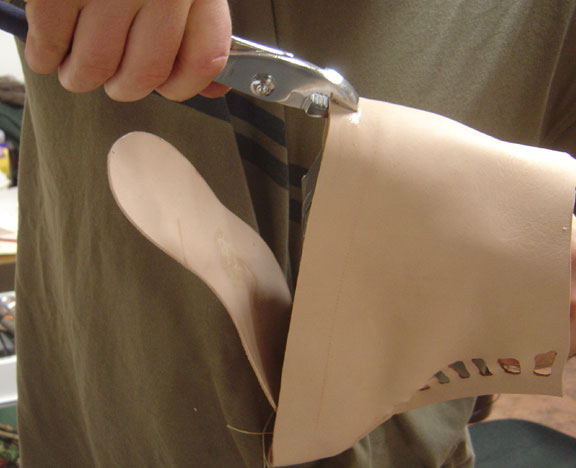
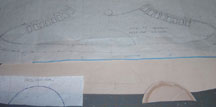
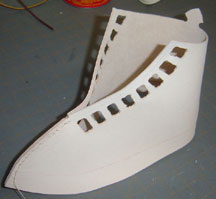
Here are all the pattern pieces. They must all be turned upside down to cut the opposite foot leather. |
|
|
 |
This shows the sewing weights, and the marking wheel. On this pair I dispensed with using the chalk paper, relying solely on the marks from the toothed wheel. This method proved to be satisfactory. |
| |
|
 |
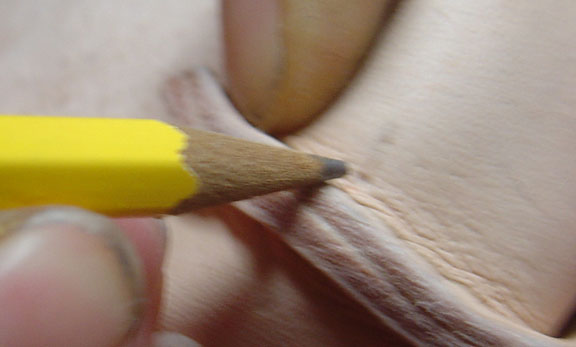
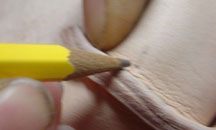
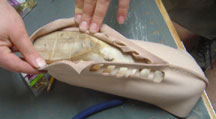
It is important to mark the center back, and the position of the heel counter. The counter is glued in on this show, but properly done should be sewn in place with an overhand tunnel stitch.
|
| |
|
 |
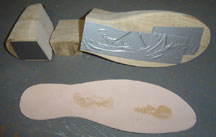
The upper is cut out and the lasting allowance and stitch lines are marked. |
| |
|
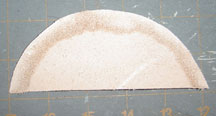 |
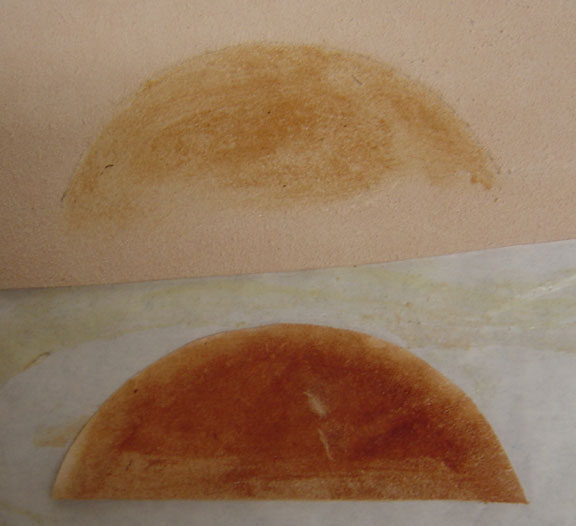
Heel counter, skived down on the top edge. |
| |
|
 |
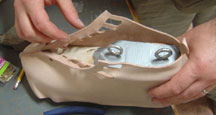
The counter and the glue spot. The counter has to be placed at the line where the lasting allowance will turn under the sole. |
| |
|
 |
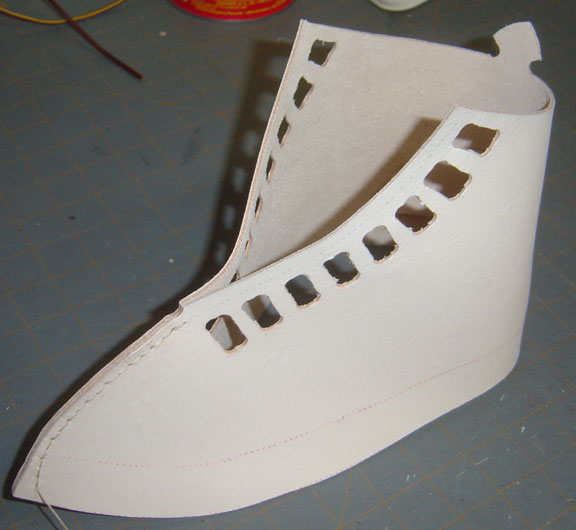
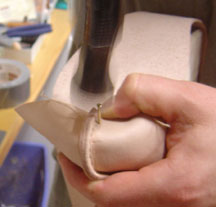
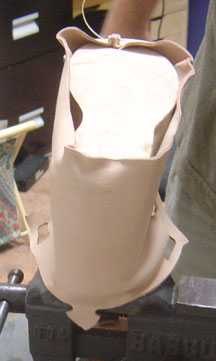
The counter is installed, the toe is sewn, and the upper is ready for lasting. Give the upper a good soaking in room temp water before putting it on the last. As you work, you may find it necessary to re-wet the leather with a spray bottle full of water. |
| |
|
 |
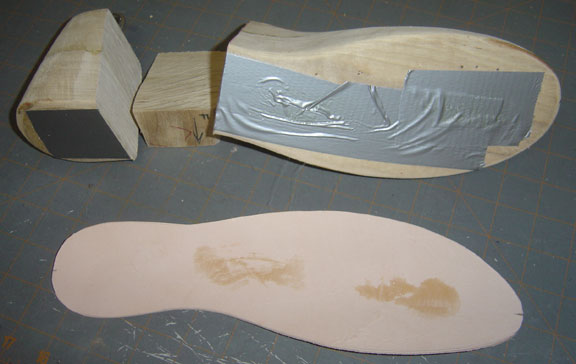
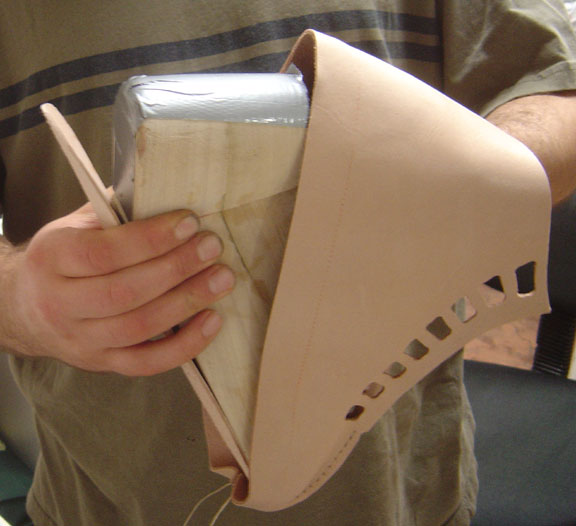
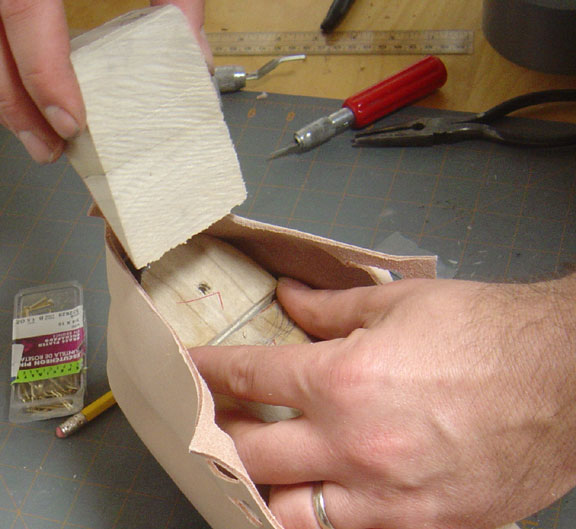
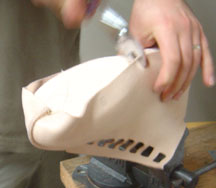
When I first did these, I tried lightly gluing the inner sole to the bottom of the last. I have found that a much better way is to tack in on with three for four nails. |
|
|
 |
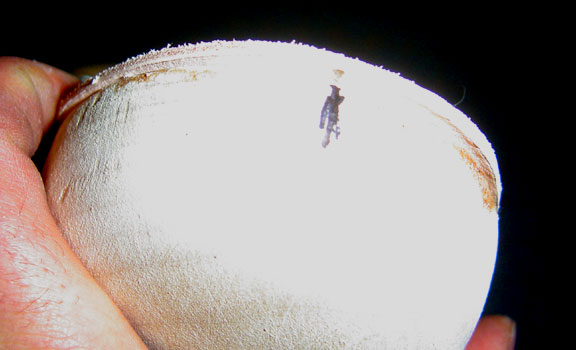
Front and center mark. |
|
|
 |
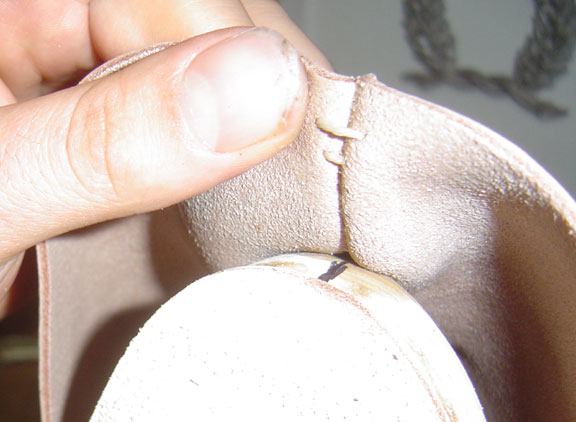
Line the toe seam up with the mark, and fold it over the toe of the last. |
| |
|
 |
Make sure you are folding it over to the lasting allowance mark. |
| |
|
 |
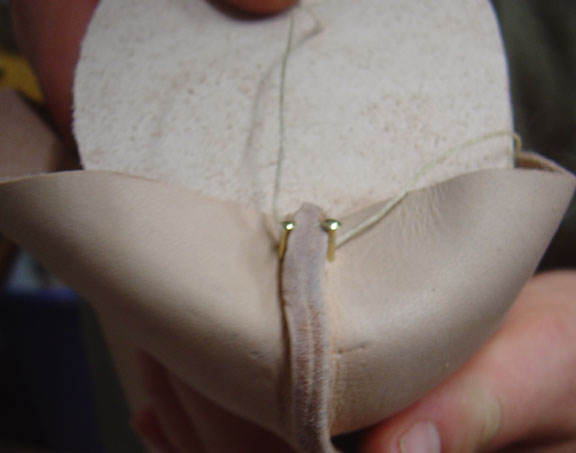
Place a nail on each side of the center seam. |
| |
|
 |
|
|
|
 |
On this three piece last, I slid the back of the shoe down into place with the center wedge removed. |
|
|
 |
I taped the bottom of the last together. |
|
|
 |
Use pliers to pull the heel down to the lasting allowance mark. |
|
|
 |
Check the lineup. |
|
|
 |
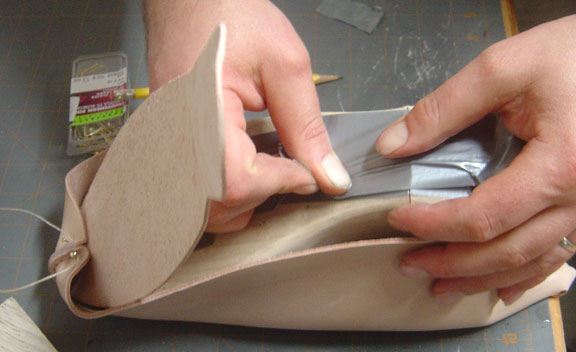
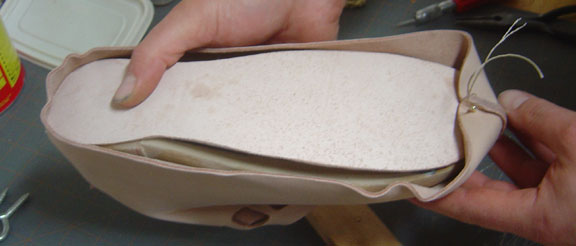
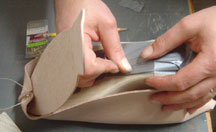
Fit the heel end of the inner sole into place and tack it down. |
|
|
 |
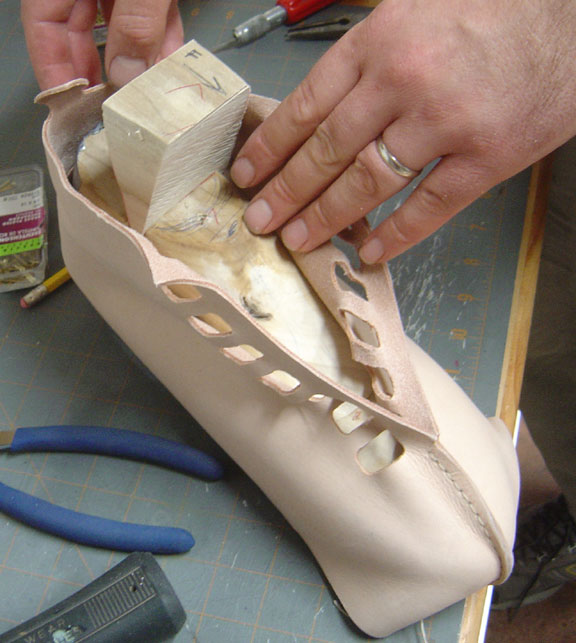
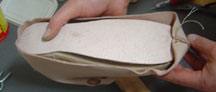
Insert the center wedge, if your last requires it. |
|
|
 |
|
|
|
 |
|
|
|
 |
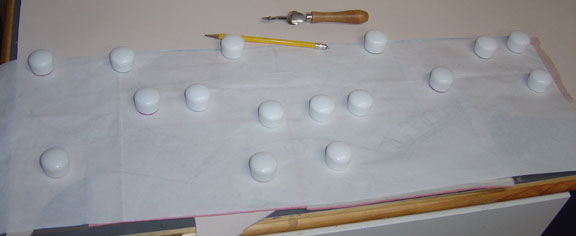
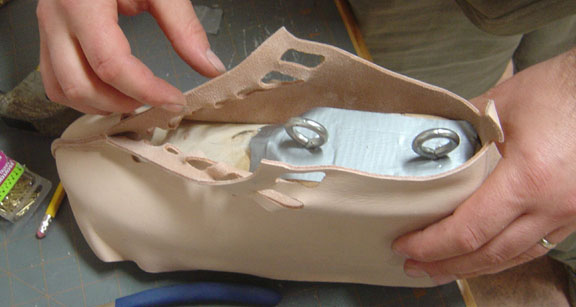
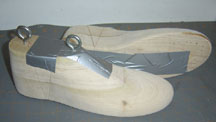
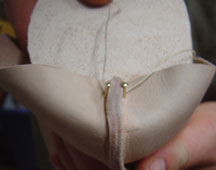
Tape across the top and insert the eyebolts. |
|
|
 |
|
|
|
 |
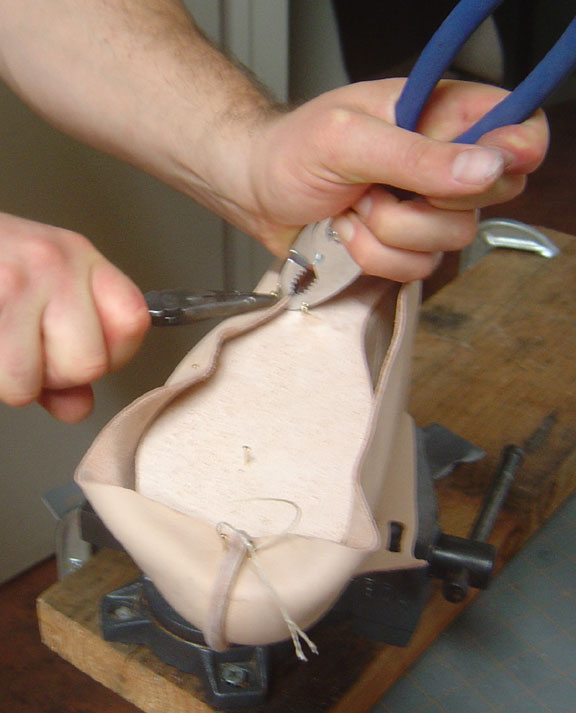
Start working your way around, pulling the upper as tight as possible, to line up the lasting allowance mark with the edge of the last. This part is a dance of pulling hard, and gently working the leather into place without tearing it. |
|
|
 |
|
|
|
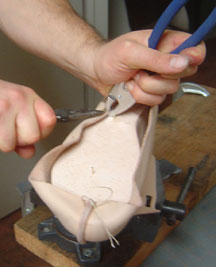 |
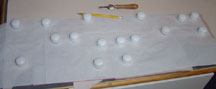
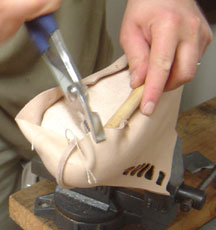
Pull the upper tight, push a brass tack into the leather with the needle nose.... |
|
|
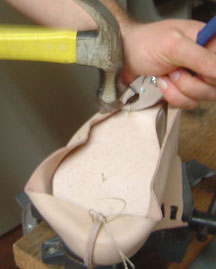 |
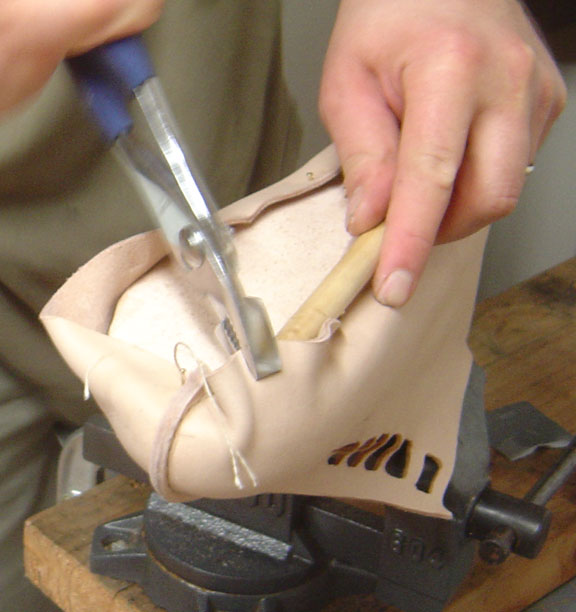
...then tap it in lightly with the hammer. These tacks do not need to be inserted deeply, just enough to hold the leather in place while it takes a new shape. |
|
|
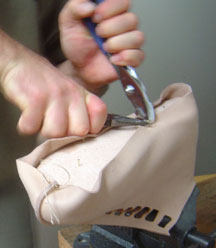 |
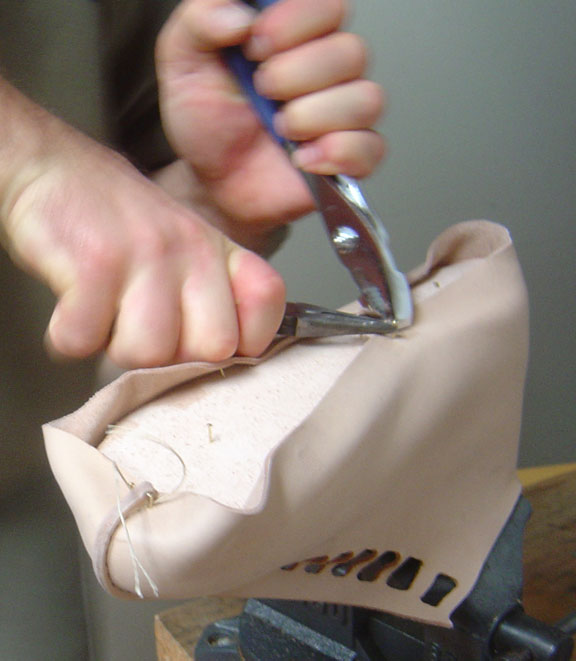
Work your way along, alternating side to side. |
|
|
 |
|
|
|
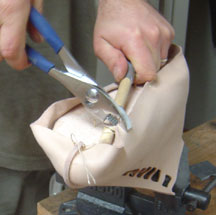 |
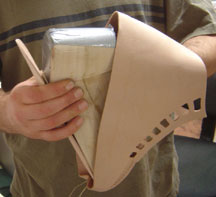
In the absence of actual lasting pliers, which make this easier, I used a dowel as a fulcrum to gain leverage. |
|
|
 |
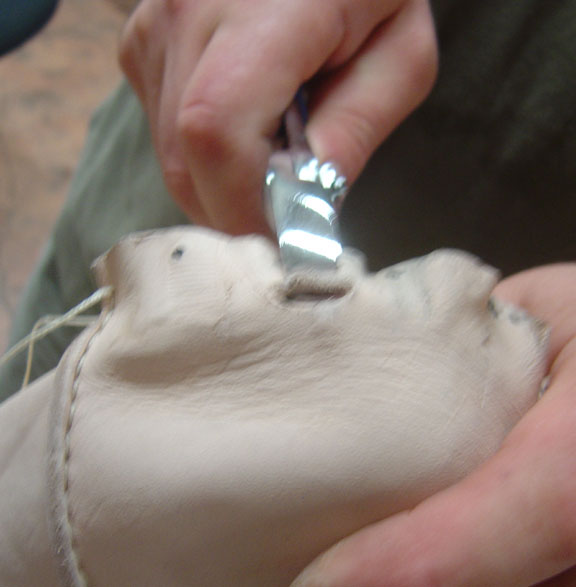
It is important to move along symmetrically, and keep turning the the shoe over to make sure you stretch evenly without deformation. I have occasionally had to go back a remove all the nails and start fresh when I got off on a wrong track. |
| |
|
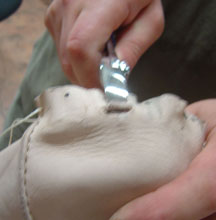 |
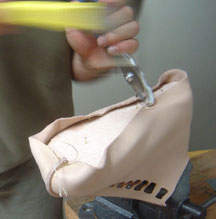
The shows the danger of pulling too hard. The leather ripped across the end of the pliers, right at the edge of the sole, and I ruined the entire upper. |
|
Go to page 2 |