|
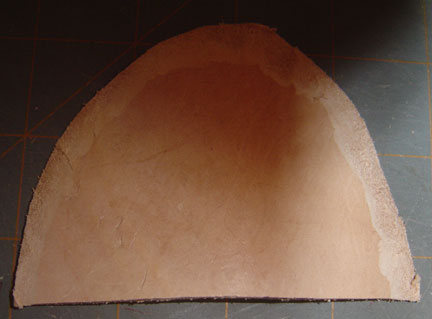
The heel counter is cut from scrap of the upper material, and I skive the edges down well, so that when it is glued in, the edge doesn't show from the outside. A smooth skiving job makes a big difference in this. Historically they were of course sewn in, with tunnel stitching that did not pierce the outer skin. |
| |
|
 |
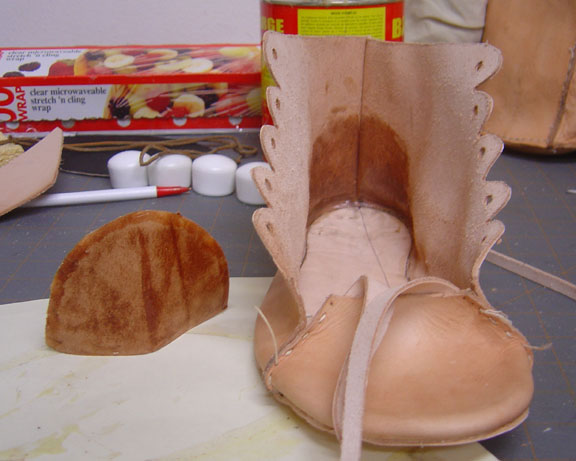
The counter is marked on the inside, and both the inside of the shoe, and the inside of the counter are glued. This installation is shown after assembly, but it is far easier to install the counter before attaching the upper to the inner sole. You just line it up with the 'fold under' line, and the center back seam. You want the counter to be as smooth and neat as possible. |
| |
|
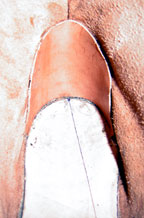 |
This picture illustrates some on the difficulties with installing after assembly. It will work fine, it just won't be as neat as I'd like. |
| |
|
Heel Lift
Most modern Americans are used to wearing shoes with some level of heel. Whether it is a athletic shoe, a dress shoe, or casual shoe, most have some sort of heel. Another factor facing the shoe maker is that since most of the weight, wear, and tear happen to the heel, the leather compresses faster there, resulting in a lower heel, and the tendency of the hobnails to poke up more quickly in the heel. This method is NOT historically accurate, but can be done pretty unobtrusively, and simultaneously add comfort to the wearer. Another problem with it is that if it is too thick, the hobnails will not clench properly.
|
 |
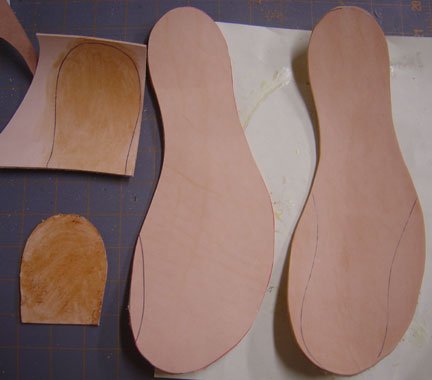
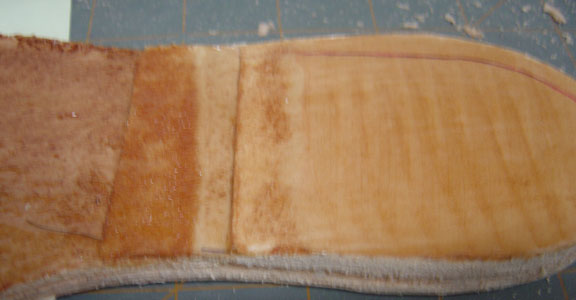
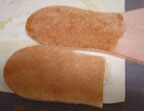
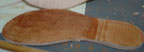
Cut the extra heel layers from scraps of the sole material. If it is too thin, put a couple together. The front edge must be well skived, to blend smoothly with the rest of the sole, and help disguise it's presence. |
| |
|
 |
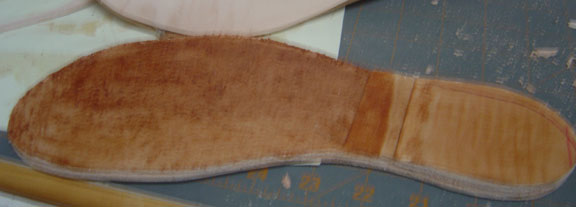
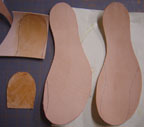
I put the heel layer on top of the outer sole layers, but some may prefer to sandwich it between. Either way should be fine. |
| |
|
 |
Ready to stick. |
| |
|
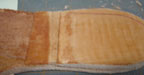 |
Close up showing the skiving. |
| |
|
| |
|