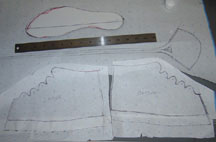
| This is my Calcei pattern # 2 |
 |
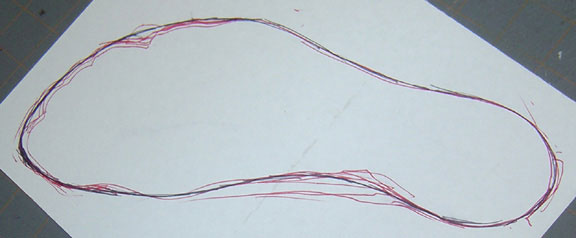
I start by putting on a sock two pairs of socks, and drawing a line around my foot. You should stand on the matte board for this, as your foot expands under your weight. Try to keep the marker as vertical as possible, except on the instep, where you naturally want the shoe to cut in a bit. Once you have the foot outline, redraw around giving the sole a shoe like shape, and draw a line from the center of the toe to the center of the heel. Add about 1/4 of an inch in the heel and toe areas. You will end up using this outline for your inner soles, and the center line to line it all up. Cut the shape out. |
|
|
 |
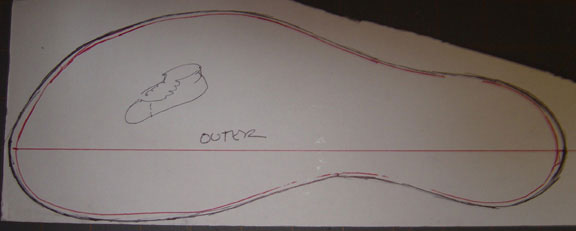
The sole pattern should be longer in the toe and heel than your foot, by about 1/4 inch. It should be as narrow or slightly less than the width of your foot. If it is too wide, there will be slop room and your foot will slide around. |
|
|
 |
|
| |
|
 |
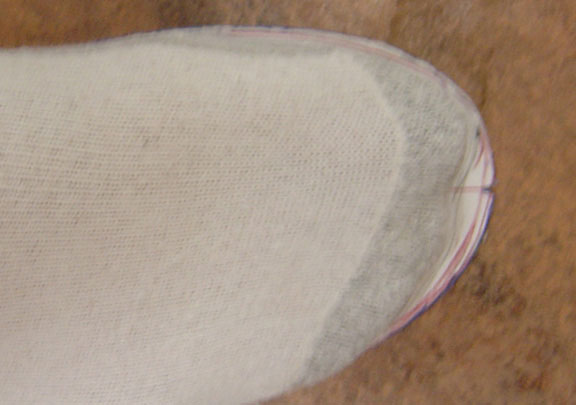
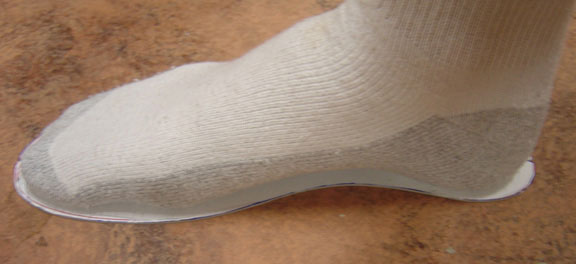
Toe room, heel extension. |
| |
|
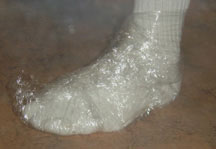 |
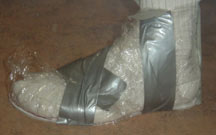
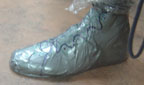
Wearing the two pairs of socks, wrap your foot in plastic wrap, not too tight, not to loose. Make sure your whole foot is covered. |
| |
|
 |
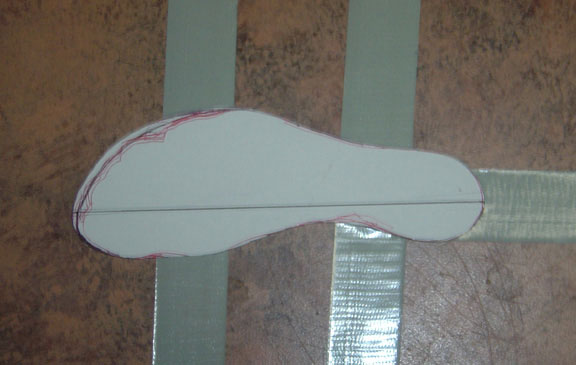
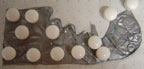
Take three strips of tape, lay them out as shown face up, and set the inner sole piece onto them as shown. |
| |
|
 |
Place your plastic wrapped foot on the sole, carefully lining up where you want the toe and heel. Lift up the tape strips, and begin to connect the sole to your foot. |
|
|
 |
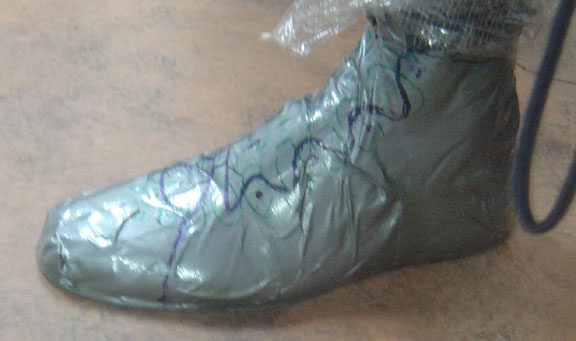
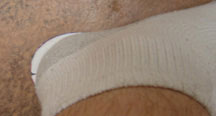
Make the tape as smooth and even as possible, covering the whole foot. Be sure not to stretch it too tightly, or your pattern may become too small. |
|
|
 |
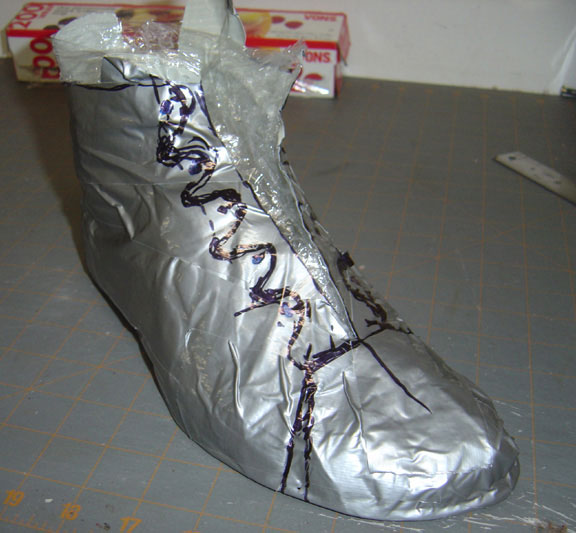
Draw a center line up the front, draw on your seams, and whatever cutting patterns you need. The most important thing here is the lace holes, you need to make sure they line up well. |
|
|
 |
Carefully cut the tape shoe off, slitting down the center line, avoiding the socks, and your skin. |
|
|
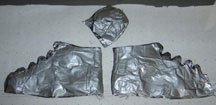 |
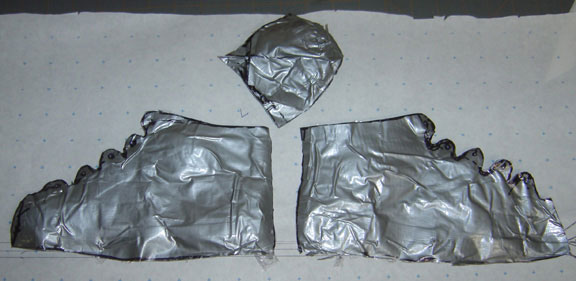
Carefully cut the shoe off the "sole", being sure not to cut the cardboard. Cut as close to the bottom edge as you can, I try to cut the line where the tape turns the corner to go under the sole. Cut the rest out carefully along your drawn lines. Flatten the pieces out, spread them on paper and draw around them. Be sure you mark the lace holes. |
|
|
 |
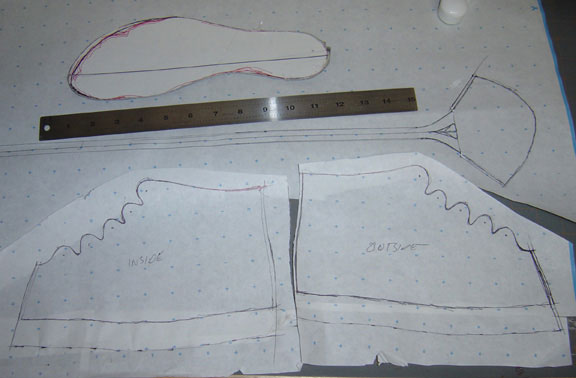
Redraw around the lines, straightening and smoothing as needed. Add 1/8 of an inch wherever you have a planned seam, and a full inch around the bottom, for a lasting allowance. |
|
|
 |
I like to use chalked tracing paper and a toothed marking wheel to transfer the pattern to the leather. I always start with one shoe, and make it most of the way till I know it fits, before I cut the leather for the second. You must also mark the 1 inch lasting allowance line on the outside and inside of each piece. |
|
|
 |
An additional sole pattern is needed, which will be used for the outersole, and the bottom sole layers. I make it about 1/8 of an inch wider most of the way round, and about 1/4 inch longer at the toe and heel. You need to cut one layer of the regular upper leather, and two of the heavy. |
|
|
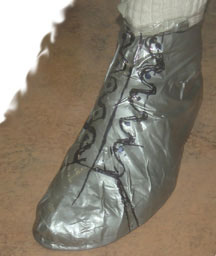
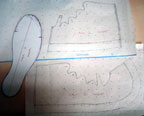
| This is my Calcei pattern #1 |
 |
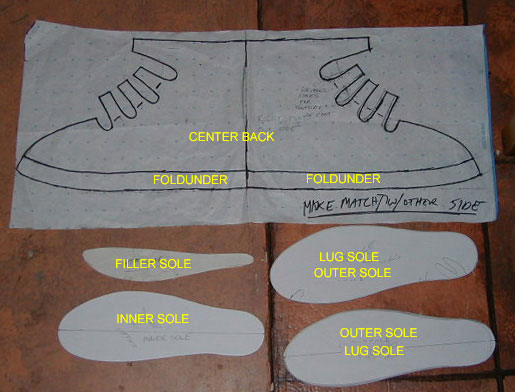
Here is the first pattern I made. Most of the assembly photos are from this build. In this case I made them in one piece, with no heel seam which is definitely more correctly Roman. The bottom sole and outer sole are the same there are just two pattern pieces in the photo, and the filler piece pattern is made after the initial gluing. |
|
|
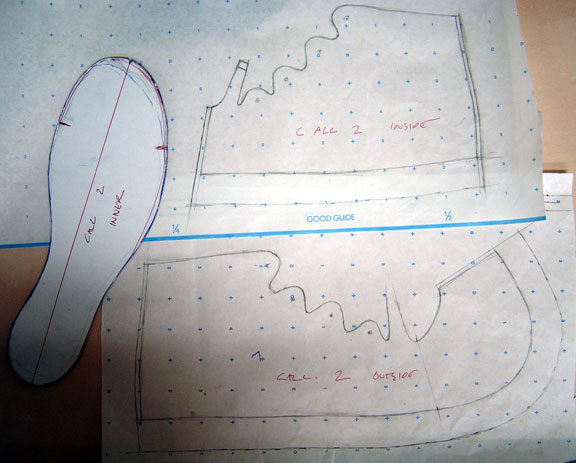
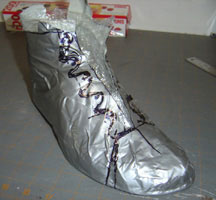
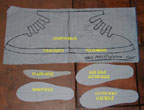
This is my pattern #3 |
 |
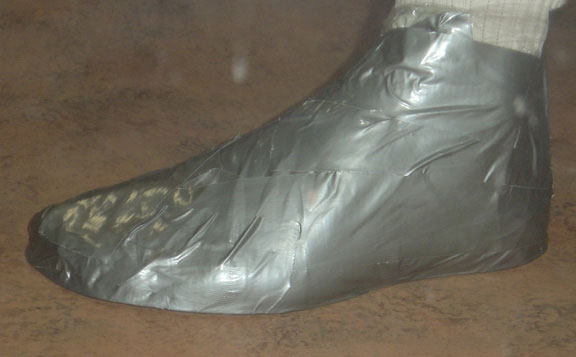
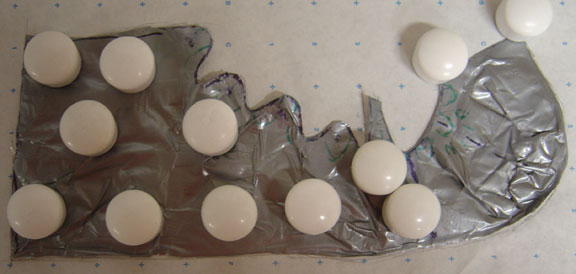
This is another Calcei I did with the duct tape pattern. Again, the same applies for the toe and heel room. |
| |
|
 |
I sketched a couple possible cut designs. |
| |
|
 |
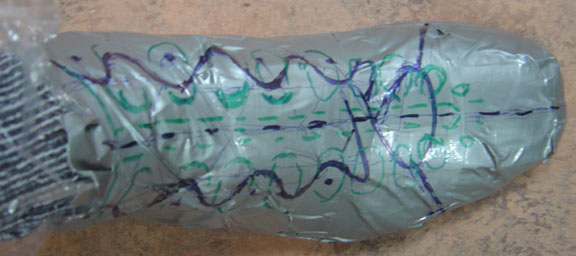
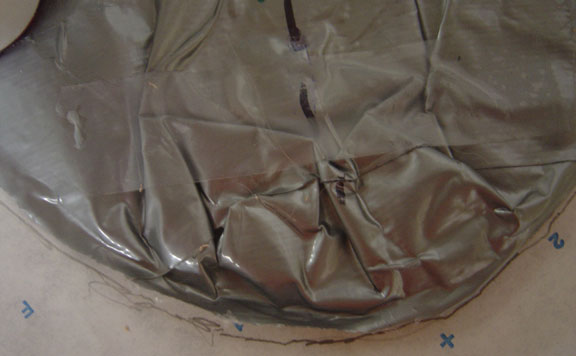
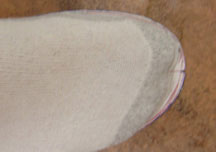
This is about as flat as I ever get the toe. You really need to be sure not to lose perimeter length here, or your upper may be too small. |
| |
|
 |
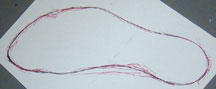
Draw around it. |
| |
|
 |
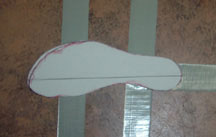
The finished pattern. This design has one seam up the inside of the front, and without the heel seam, could be done in one piece. I did not include the lace cutting in the pattern, but in the original shoes, the laces were cut in one piece. I also try be sure to mark on the sole pattern where the seams are supposed to line up, so I get them as close as possible. Again of course be sure to add the 1" lasting allowance. |