 |
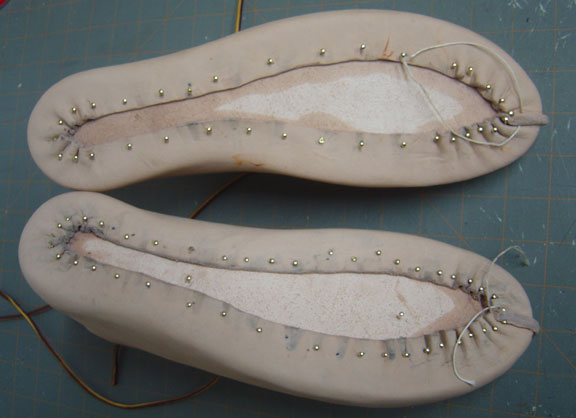
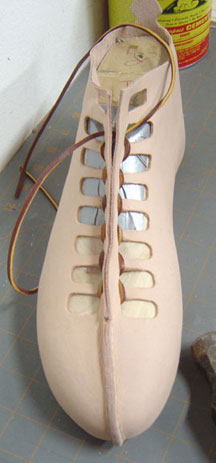
The lasted shoe ready for the next step. |
|
|
 |
Let the shoes dry for a little while. I find it easier if they are not completely dry, but it helps to have some of the form dried into shape. |
|
|
 |
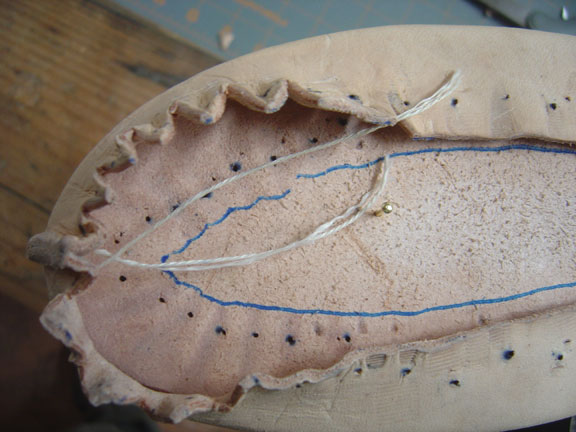
Draw a line around the edge of the upper and stick a few nails down the center of the inner sole to hold it in place. Then carefully remove the nails around the edge of the upper. The shoes should have taken from enough that the upper don't slip around on the last, but be careful nonetheless. |
| |
|
 |
|
| |
|
 |
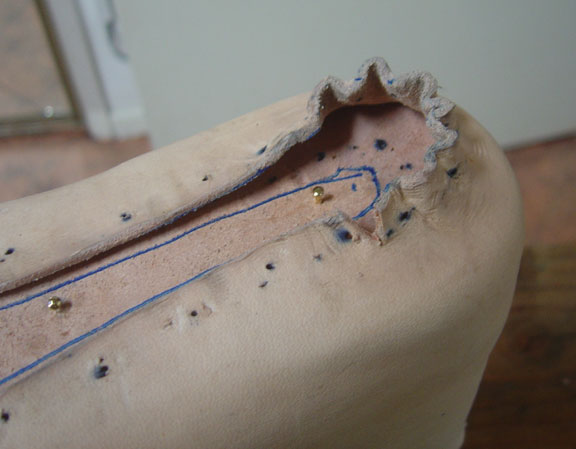
Mark and cut notches in the heel allowance. You are mostly removing the material that formed the bumps between the nails. A pair of sharp scissors with a short blade is useful for this operation. Make sure not to cut too close the edge of the lasting allowance. |
| |
|
 |
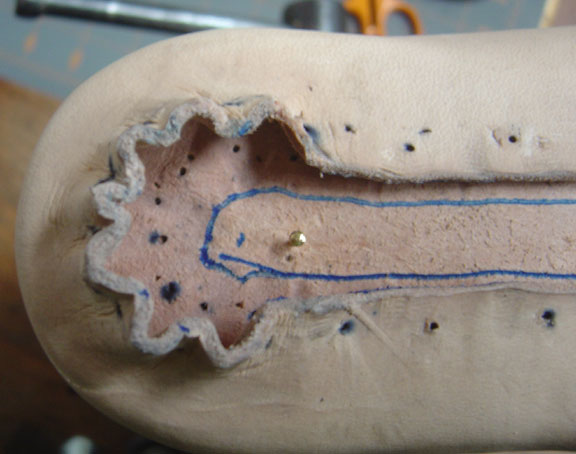
Do the same with the toe allowance. Do not cut into the toe seam and be careful not to cut the thread ends. |
| |
|
 |
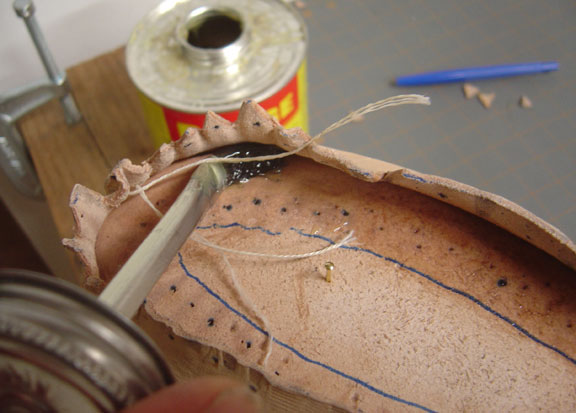
Apply barge cement all the way round on both the inner sole and the lasting allowance of the upper. |
| |
|
 |
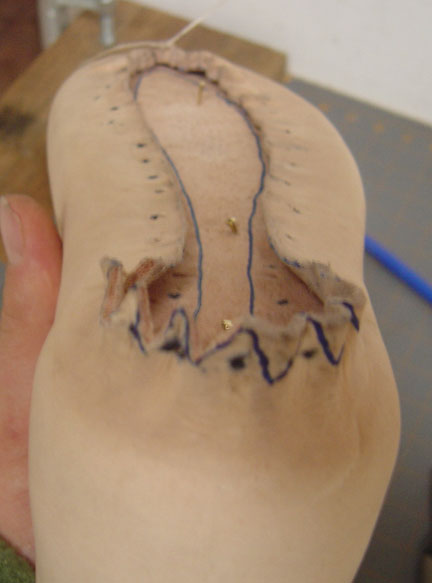
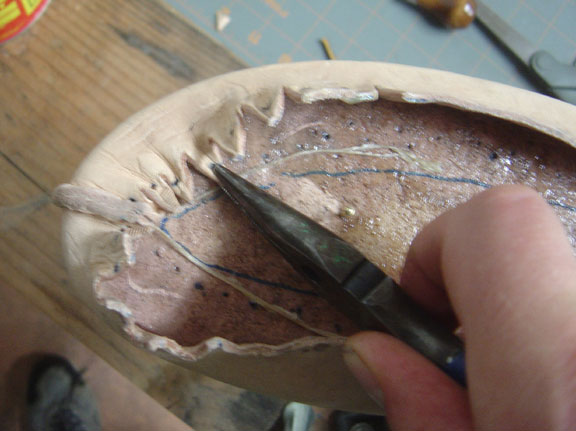
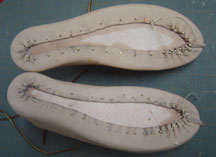
Once the barge has set up a bit, go round with your needle nose pliers and pull the edges back up to your drawn line, and press them down. I prefer to work with the barge a little goopy and not completely dry, so I can lift up and move the section a bit if necessary. Place the ends of the toe seam threads under the upper allowance. |
| |
|
 |
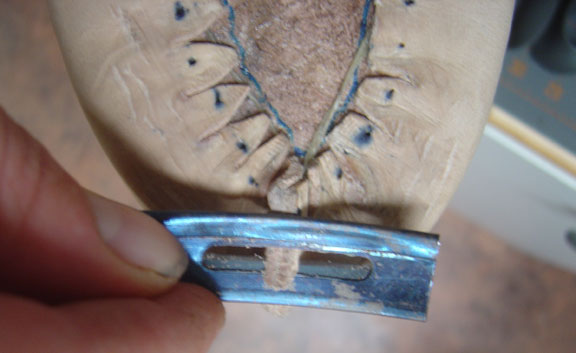
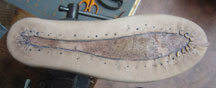
After all the edges are down in place, you can remove high spots by shaving them off with your skiver. Shave the toe seam down very carefully so you don't go as far as the stitching. It will still stand a bit above the rest of the surface, but that is OK. |
| |
|
 |
You can remove the nails tacking the inner sole down, and your shoe should look about like this. |
| |
Go to page 4 |