|
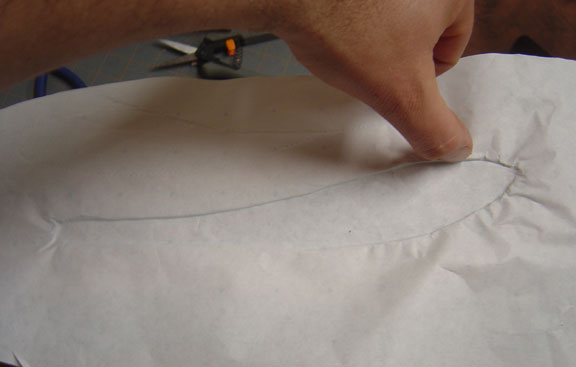
Spread a piece of paper on the sole and run your finger nail around the edge of the center opening to get a pattern for your filler piece. You will most likely need to make a separate pattern for each shoe. |
| |
|
 |
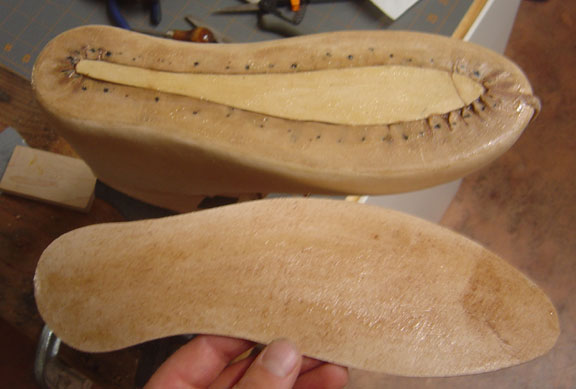
Cut it out of the same leather as the upper and cement it in place. |
|
|
 |
Sand the entire surface lightly to prepare for cementing the upper sole on. Apply the barge to the flesh side of the upper sole, and the bottom of the shoe. |
|
|
 |
I prefer to stick these together with the cement wet, so I have the opportunity to slide the upper around a bit and get it properly placed. When the glue has set up, go over the entire sole with a hammer and make sure there is good contact over the entire surface, paying special attention to the edges. Be careful not to hammer too hard however, so you don't crush the fibers of the leather. |
|
|
 |
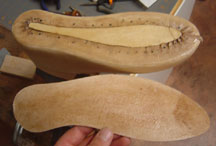
Give the bottom a light sanding to prepare it for the bottom sole, and you are ready to remove the last. |
|
|
 |
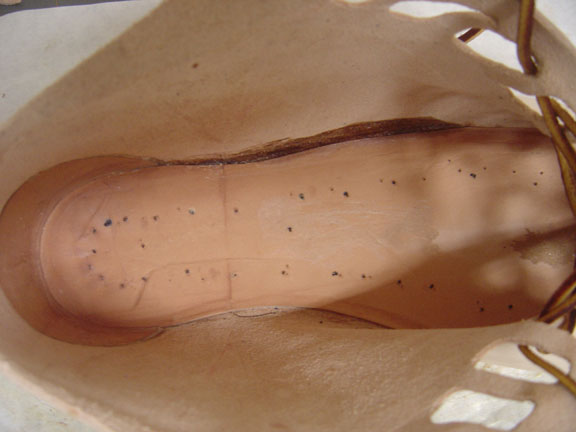
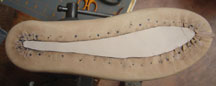
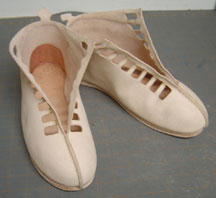
Here is a view of the inside. |
|
|
 |
This is your first opportunity to do a text fit.
|
|
|
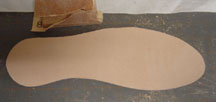 |
Cut your outer soles out a little large, so you have some working room to shave them to shape |
| |
|
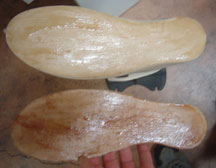 |
Apply barge cement to both the outer sole and the bottom of the shoe. Work with the glue wet so you can adjust the position easily. When things have set up a bit, slide the shoe onto your anvil and hammer it all down.
|
|
|
 |
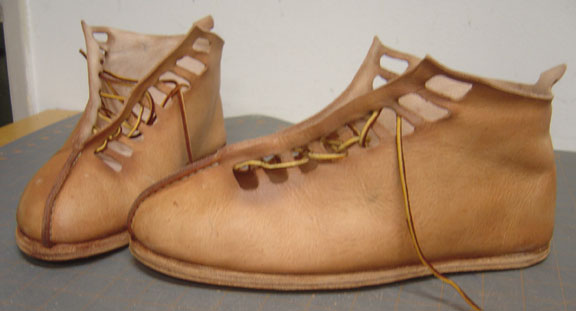
Ready for the next step. |
|
|
 |
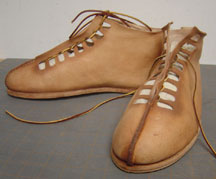
Oil them up, add laces and hobnails and you are done. |
|
|
 |
|